Hub: Menu
Introduction
The vertical menu in Hub includes these options:
- Organization selector
- Environment selector
- AI assistant
- Hub: Orders
- Hub: Routes
- Hub: Map View
- Hub: Vehicle Checks
- Hub: Analytics
- Hub: AI Route Building Logs
- Settings (Hub: Organization Settings and Hub: Environment Settings)
Organization Selector
When registering a new account and Hub: Set Up Organization, your default organization is created using the name you provided during workspace setup. Its name appears in the menu.
To create a new organization, click the Create organization button in the menu. You will be redirected to the Create organization page. Provide the Organization name and billing address (Address line 1, City, and Country); other fields are optional. The tax registration number appears on the combined invoice/receipt after payment.
To enter the address, start typing it into Address line 1 and select from the drop-down. If no match appears, complete the address fields manually.
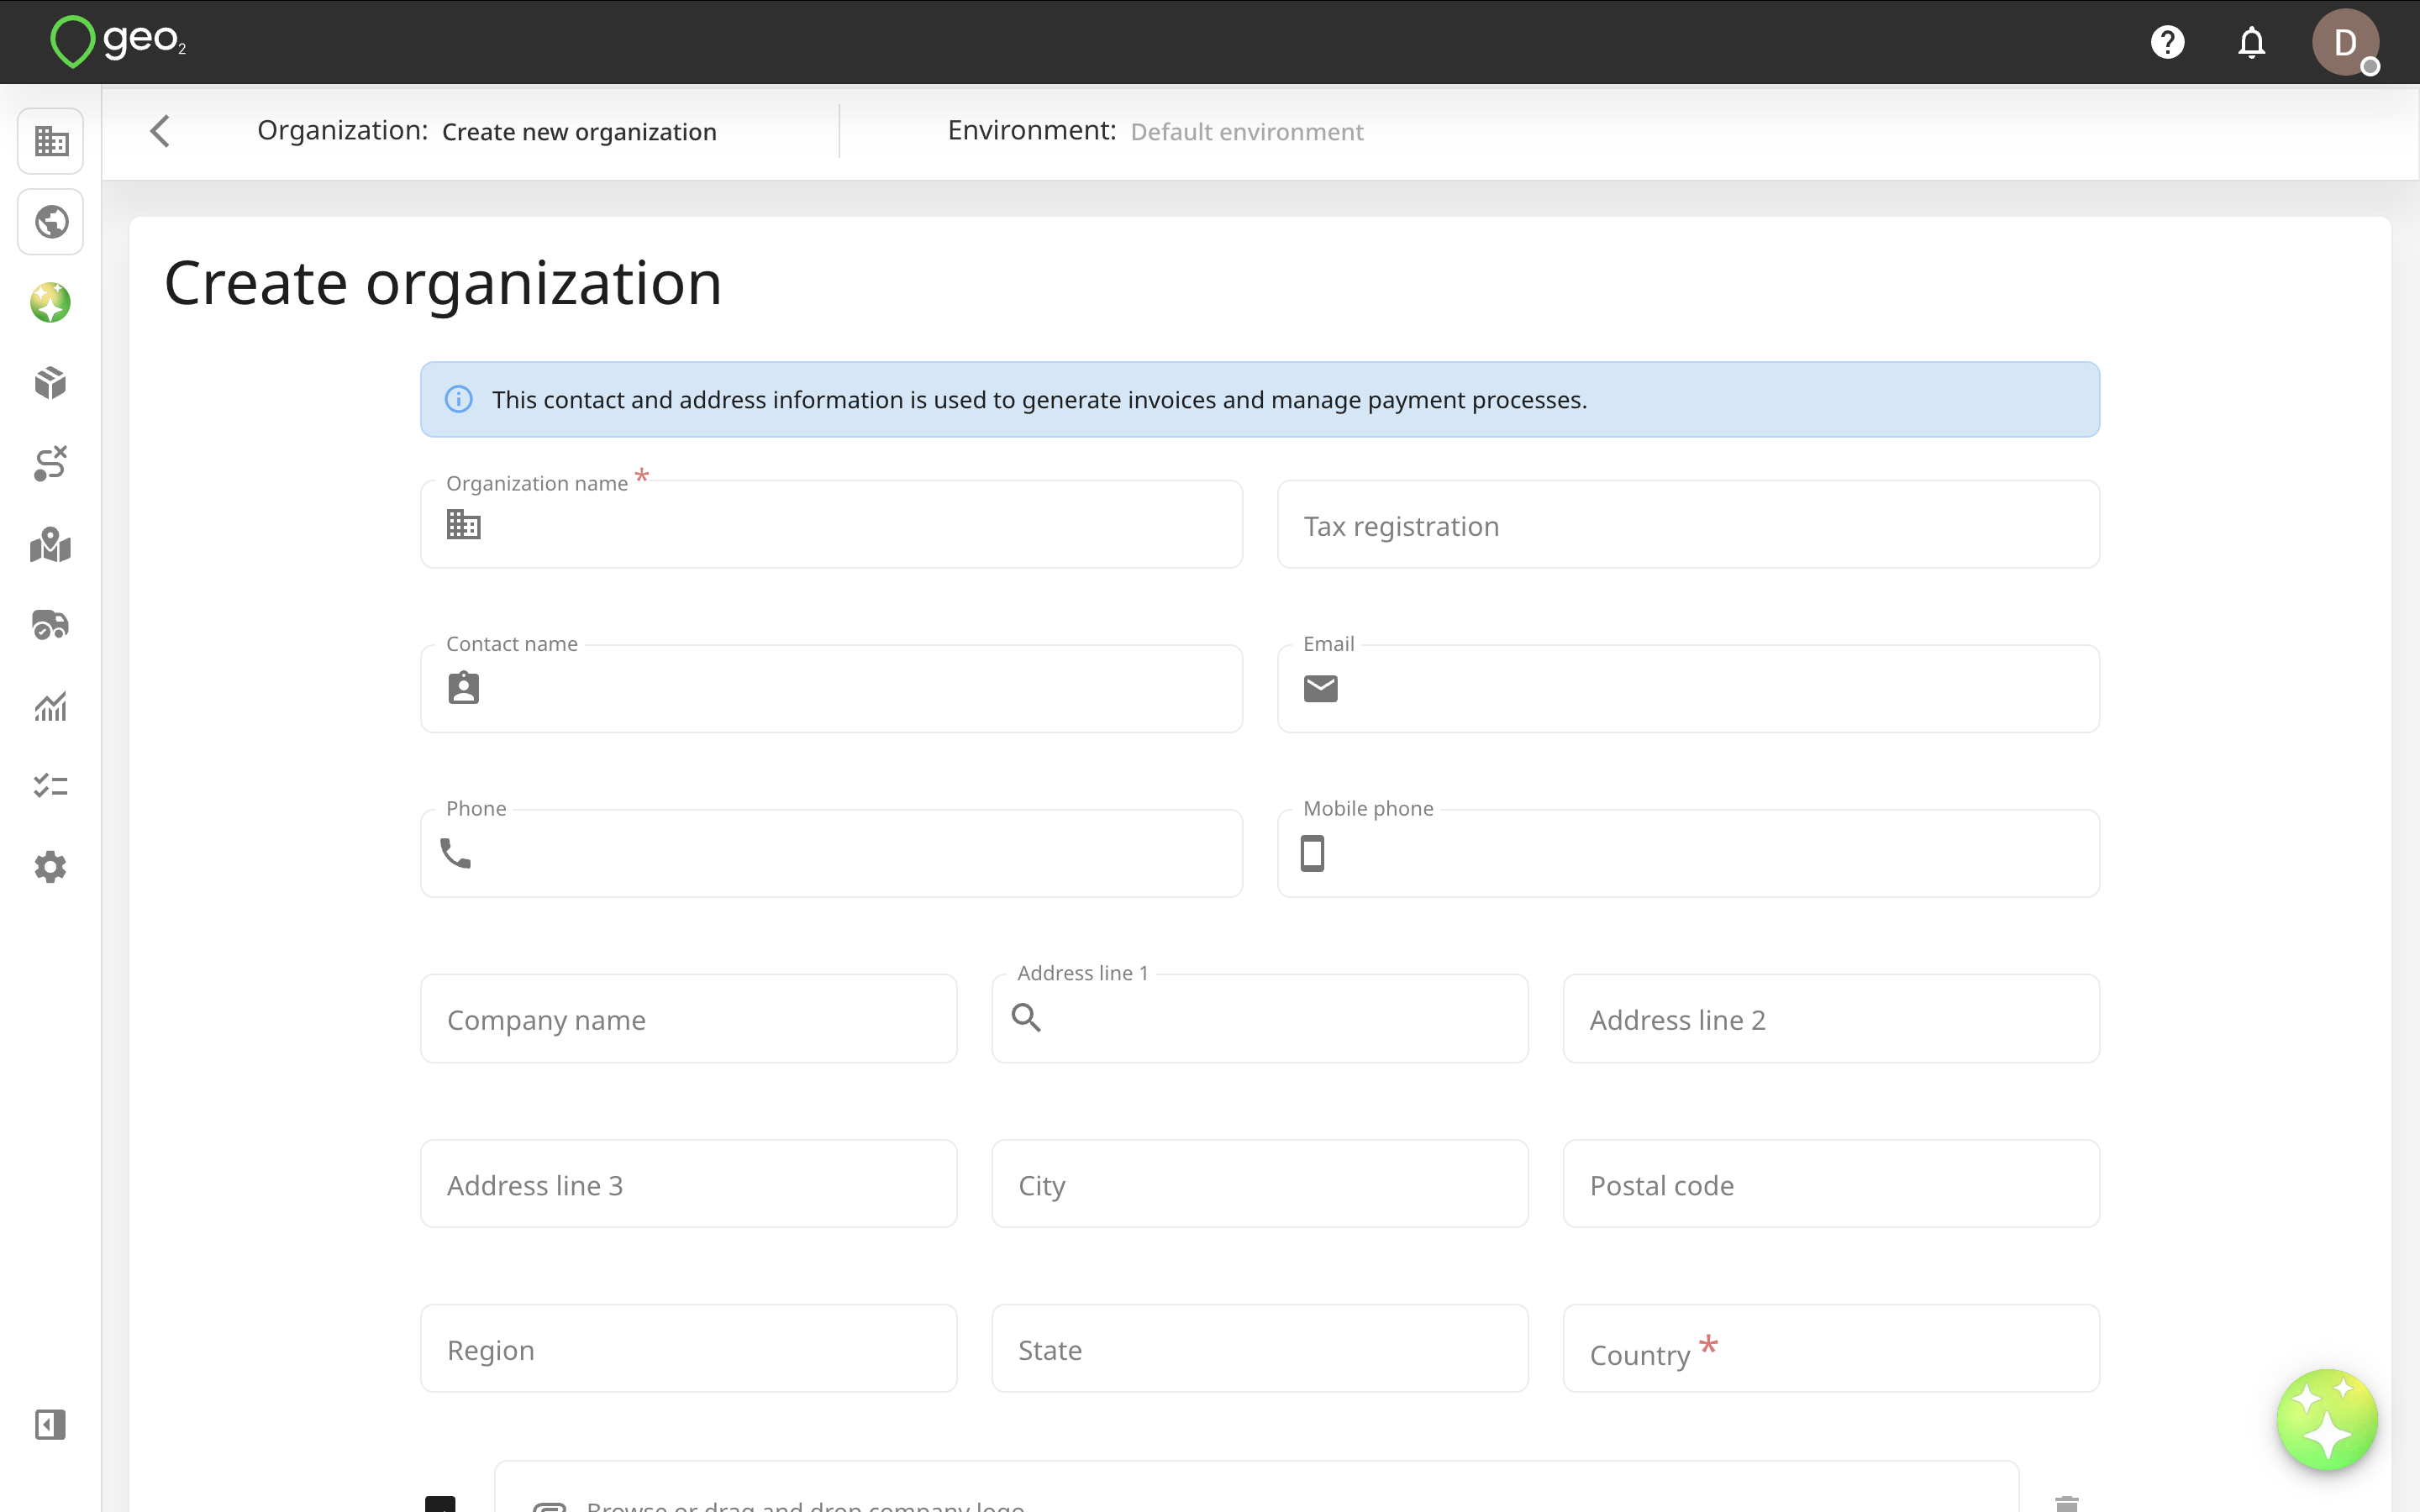
Press the Create button to create an organization. After creation, you will be redirected to Settings → Organization → Billing address.
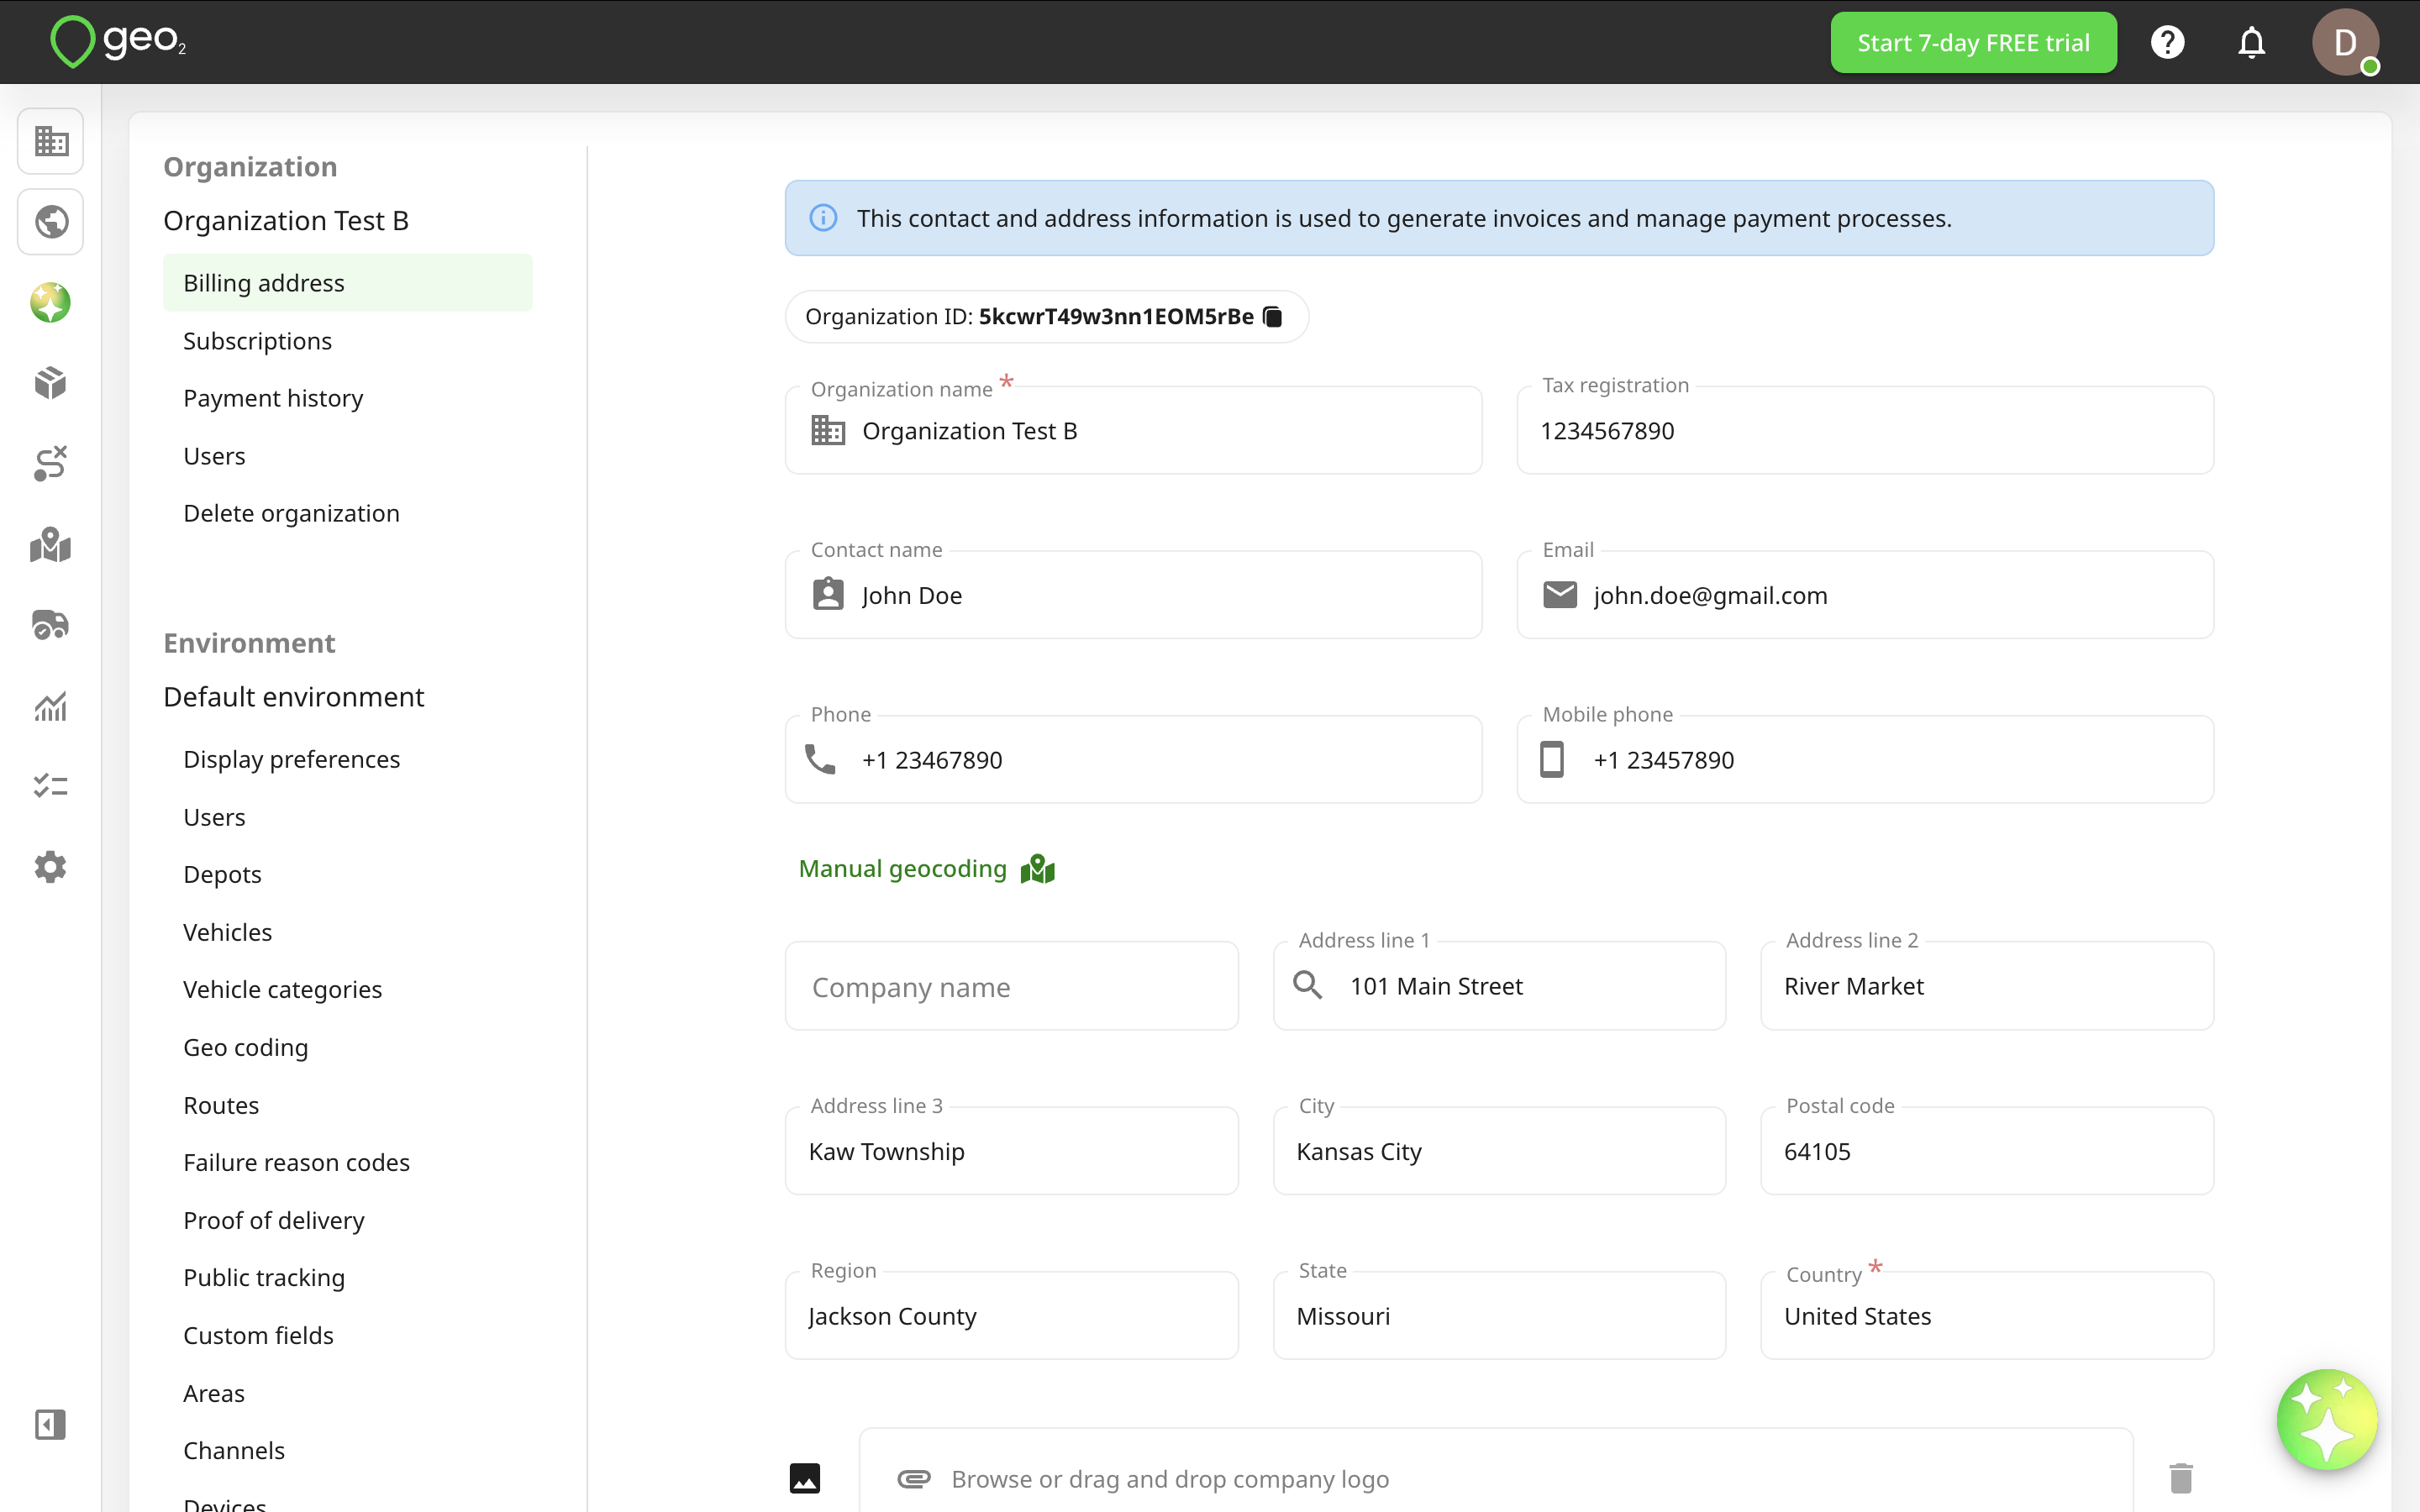
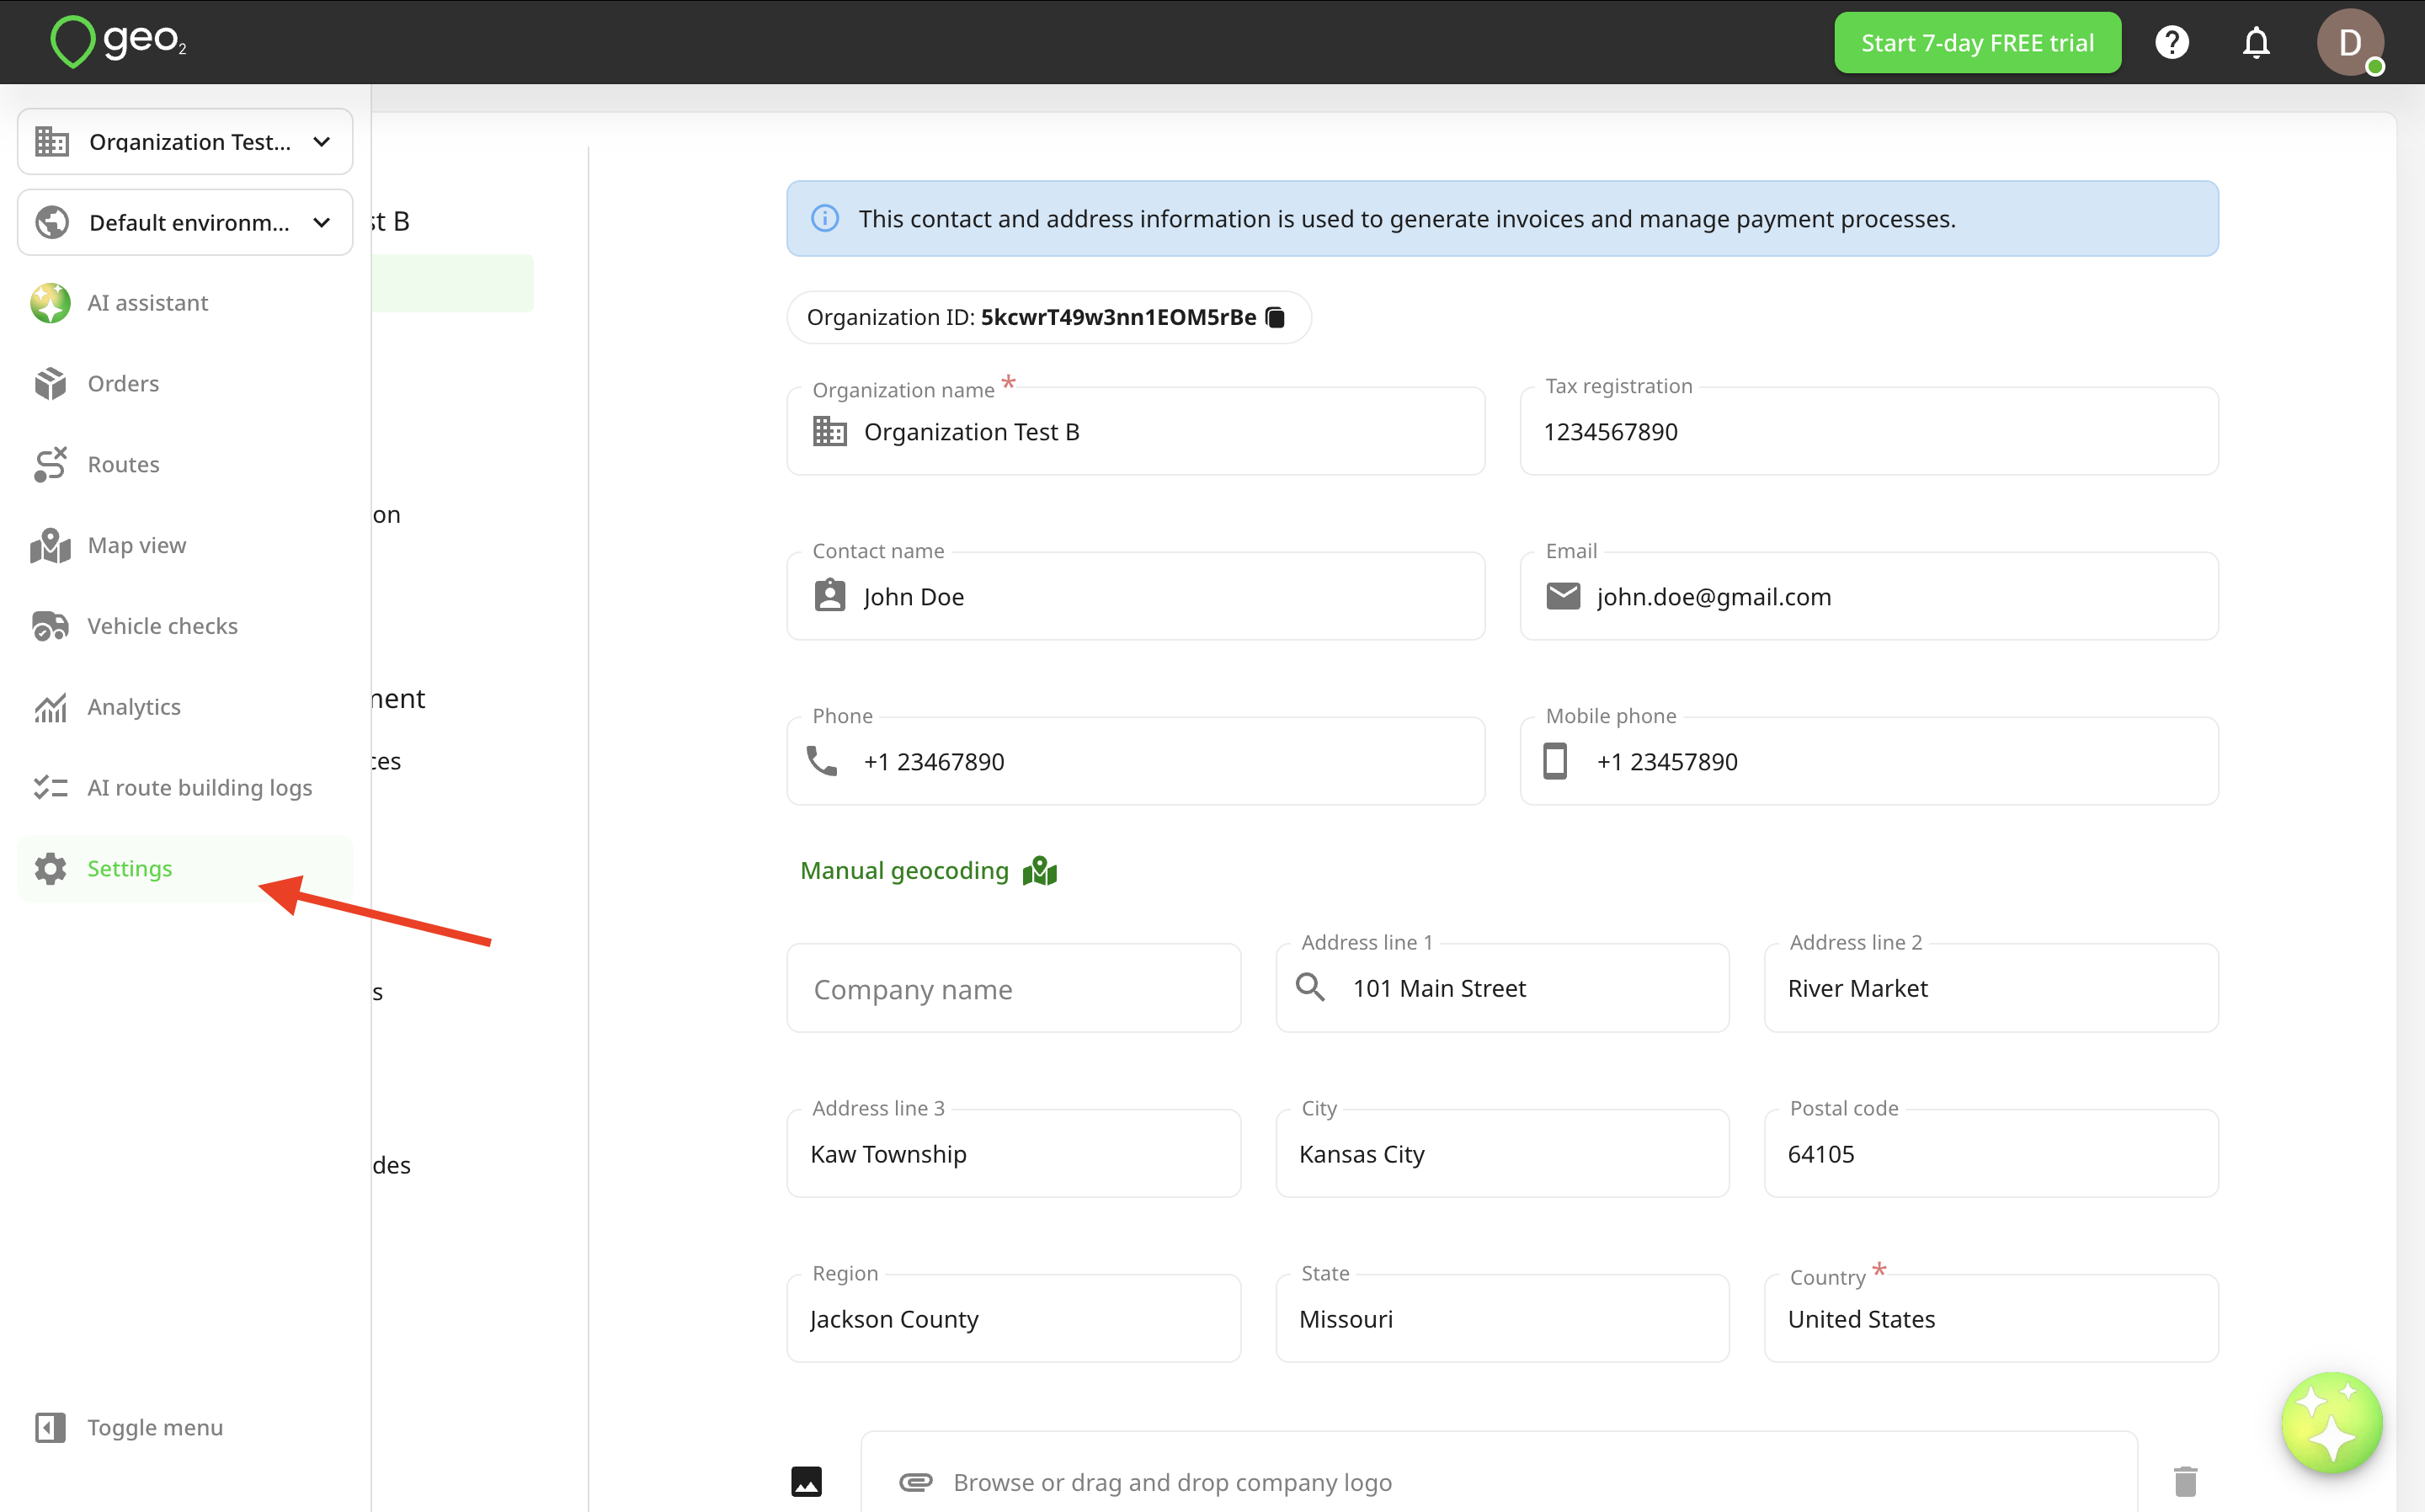
To edit organization settings later, select Settings from the menu. To save changes to an existing organization, press Update. Learn more about Hub: Organization Settings.
Environment Selector
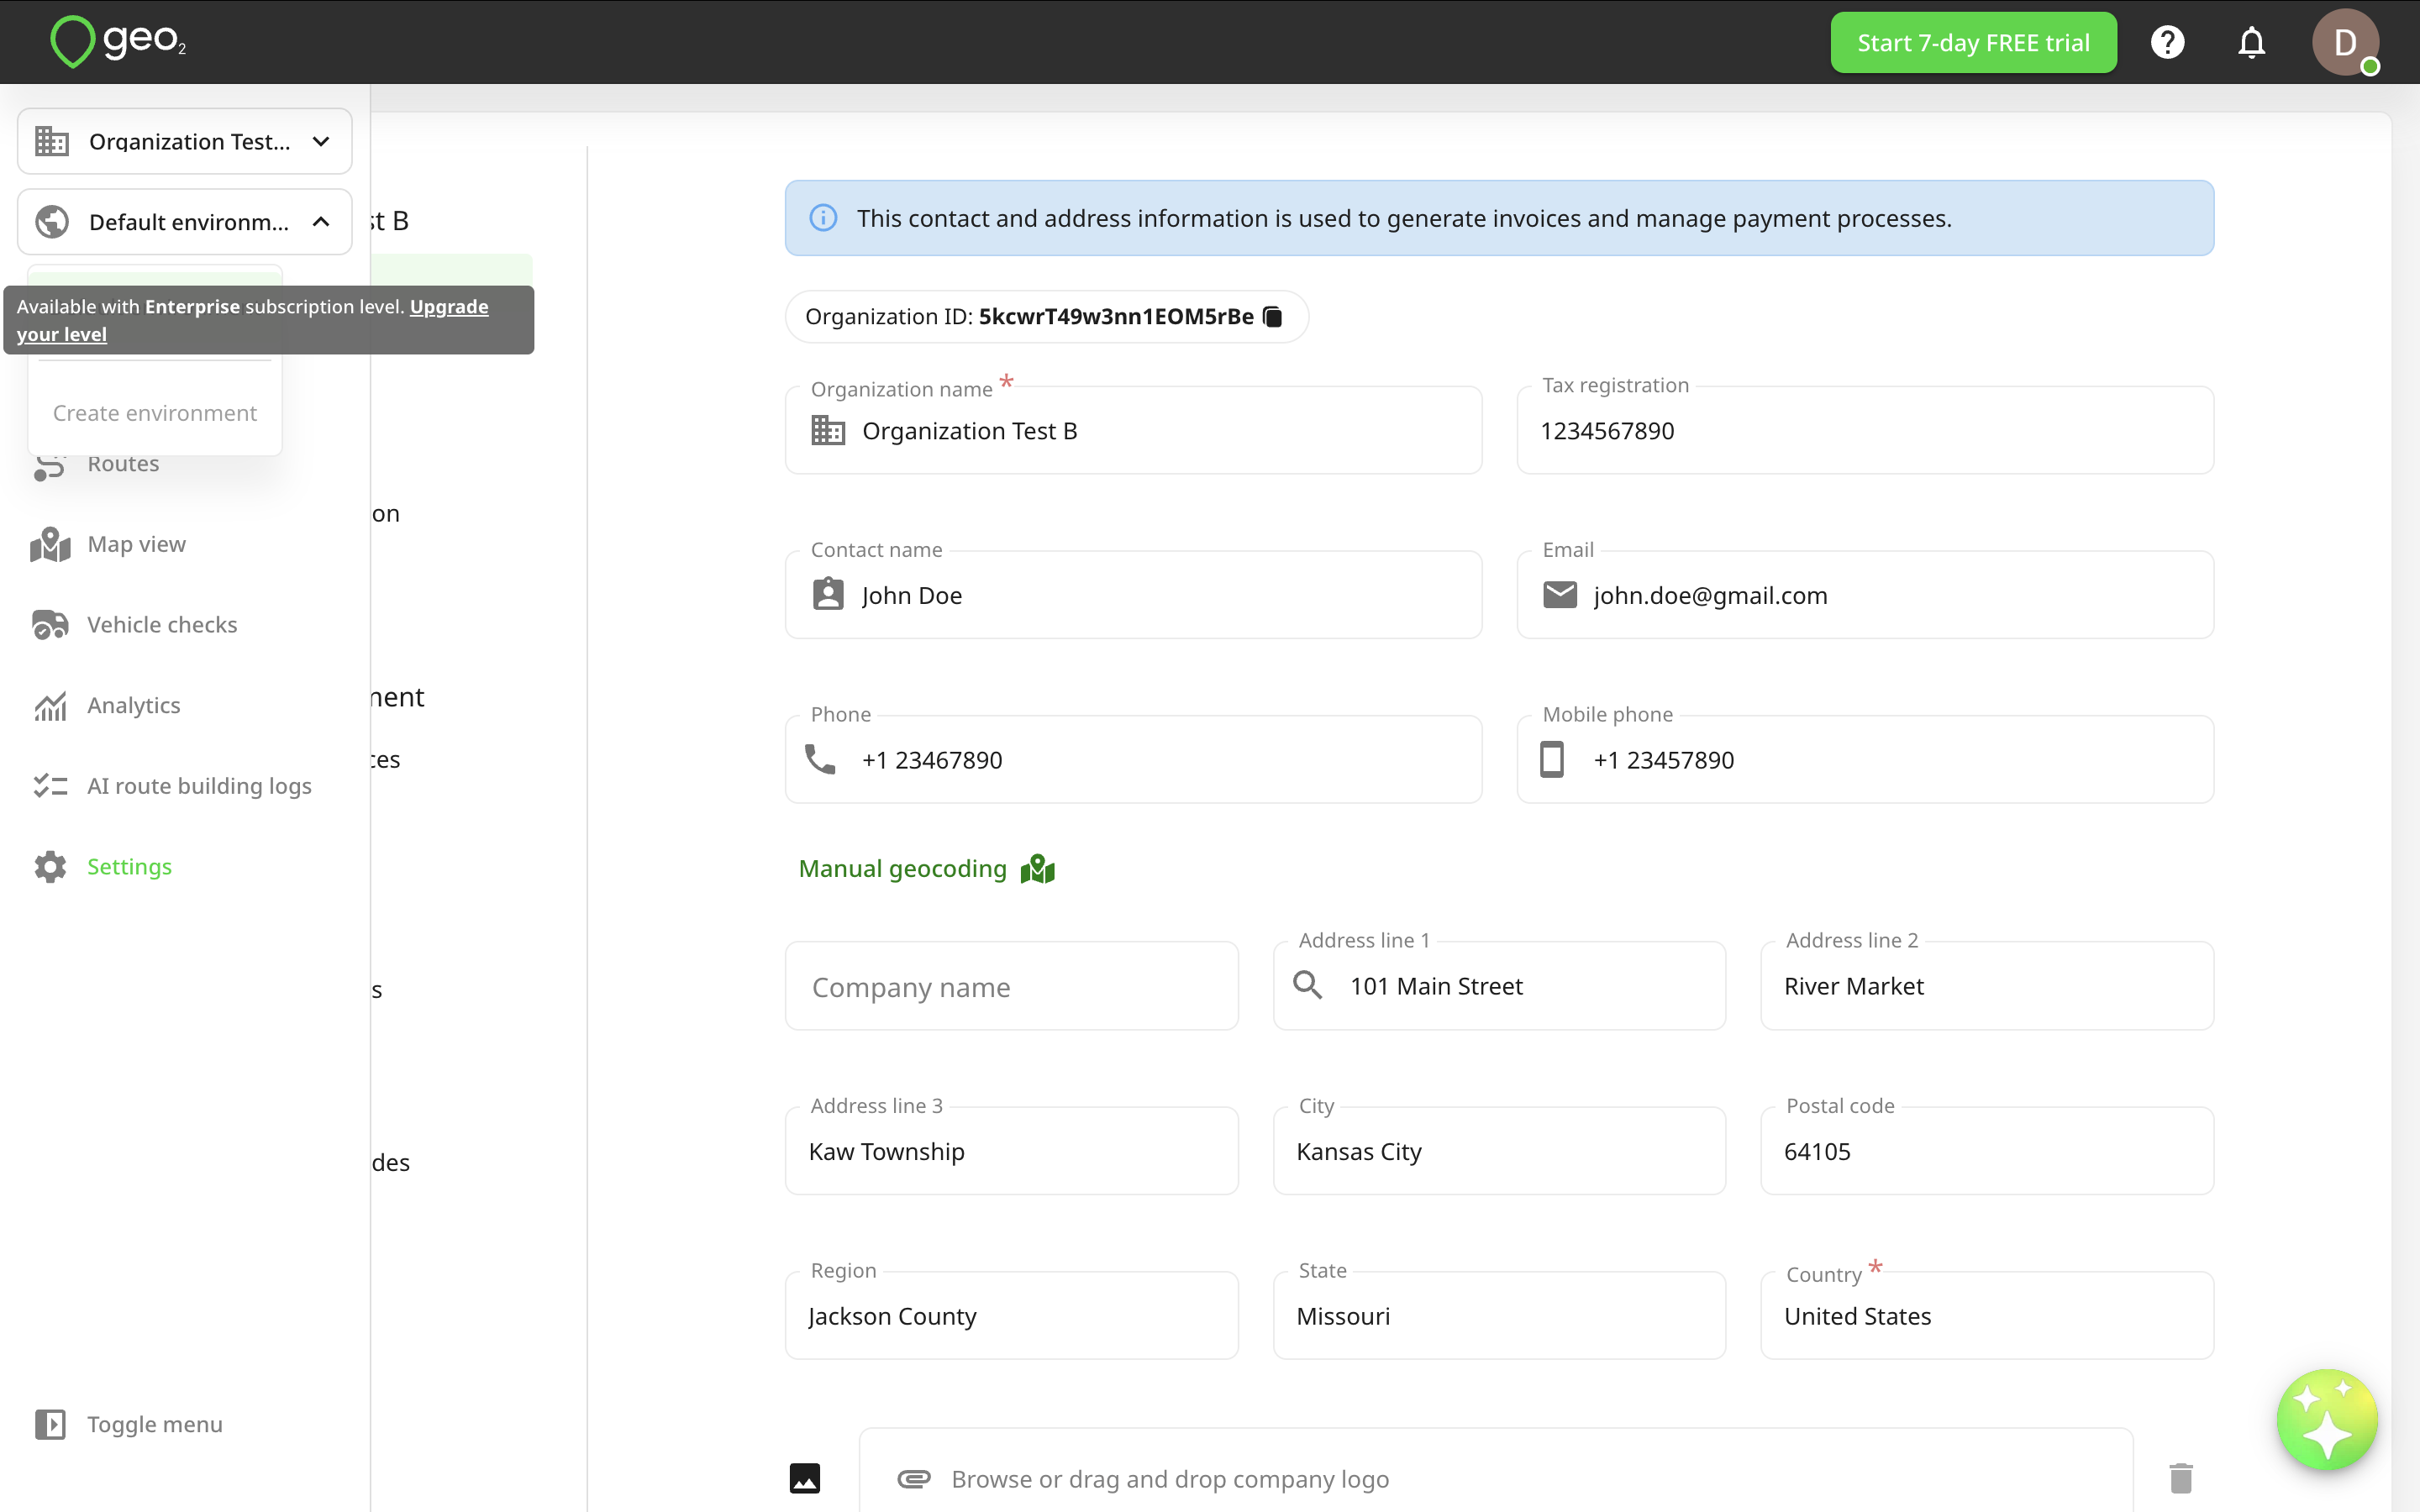
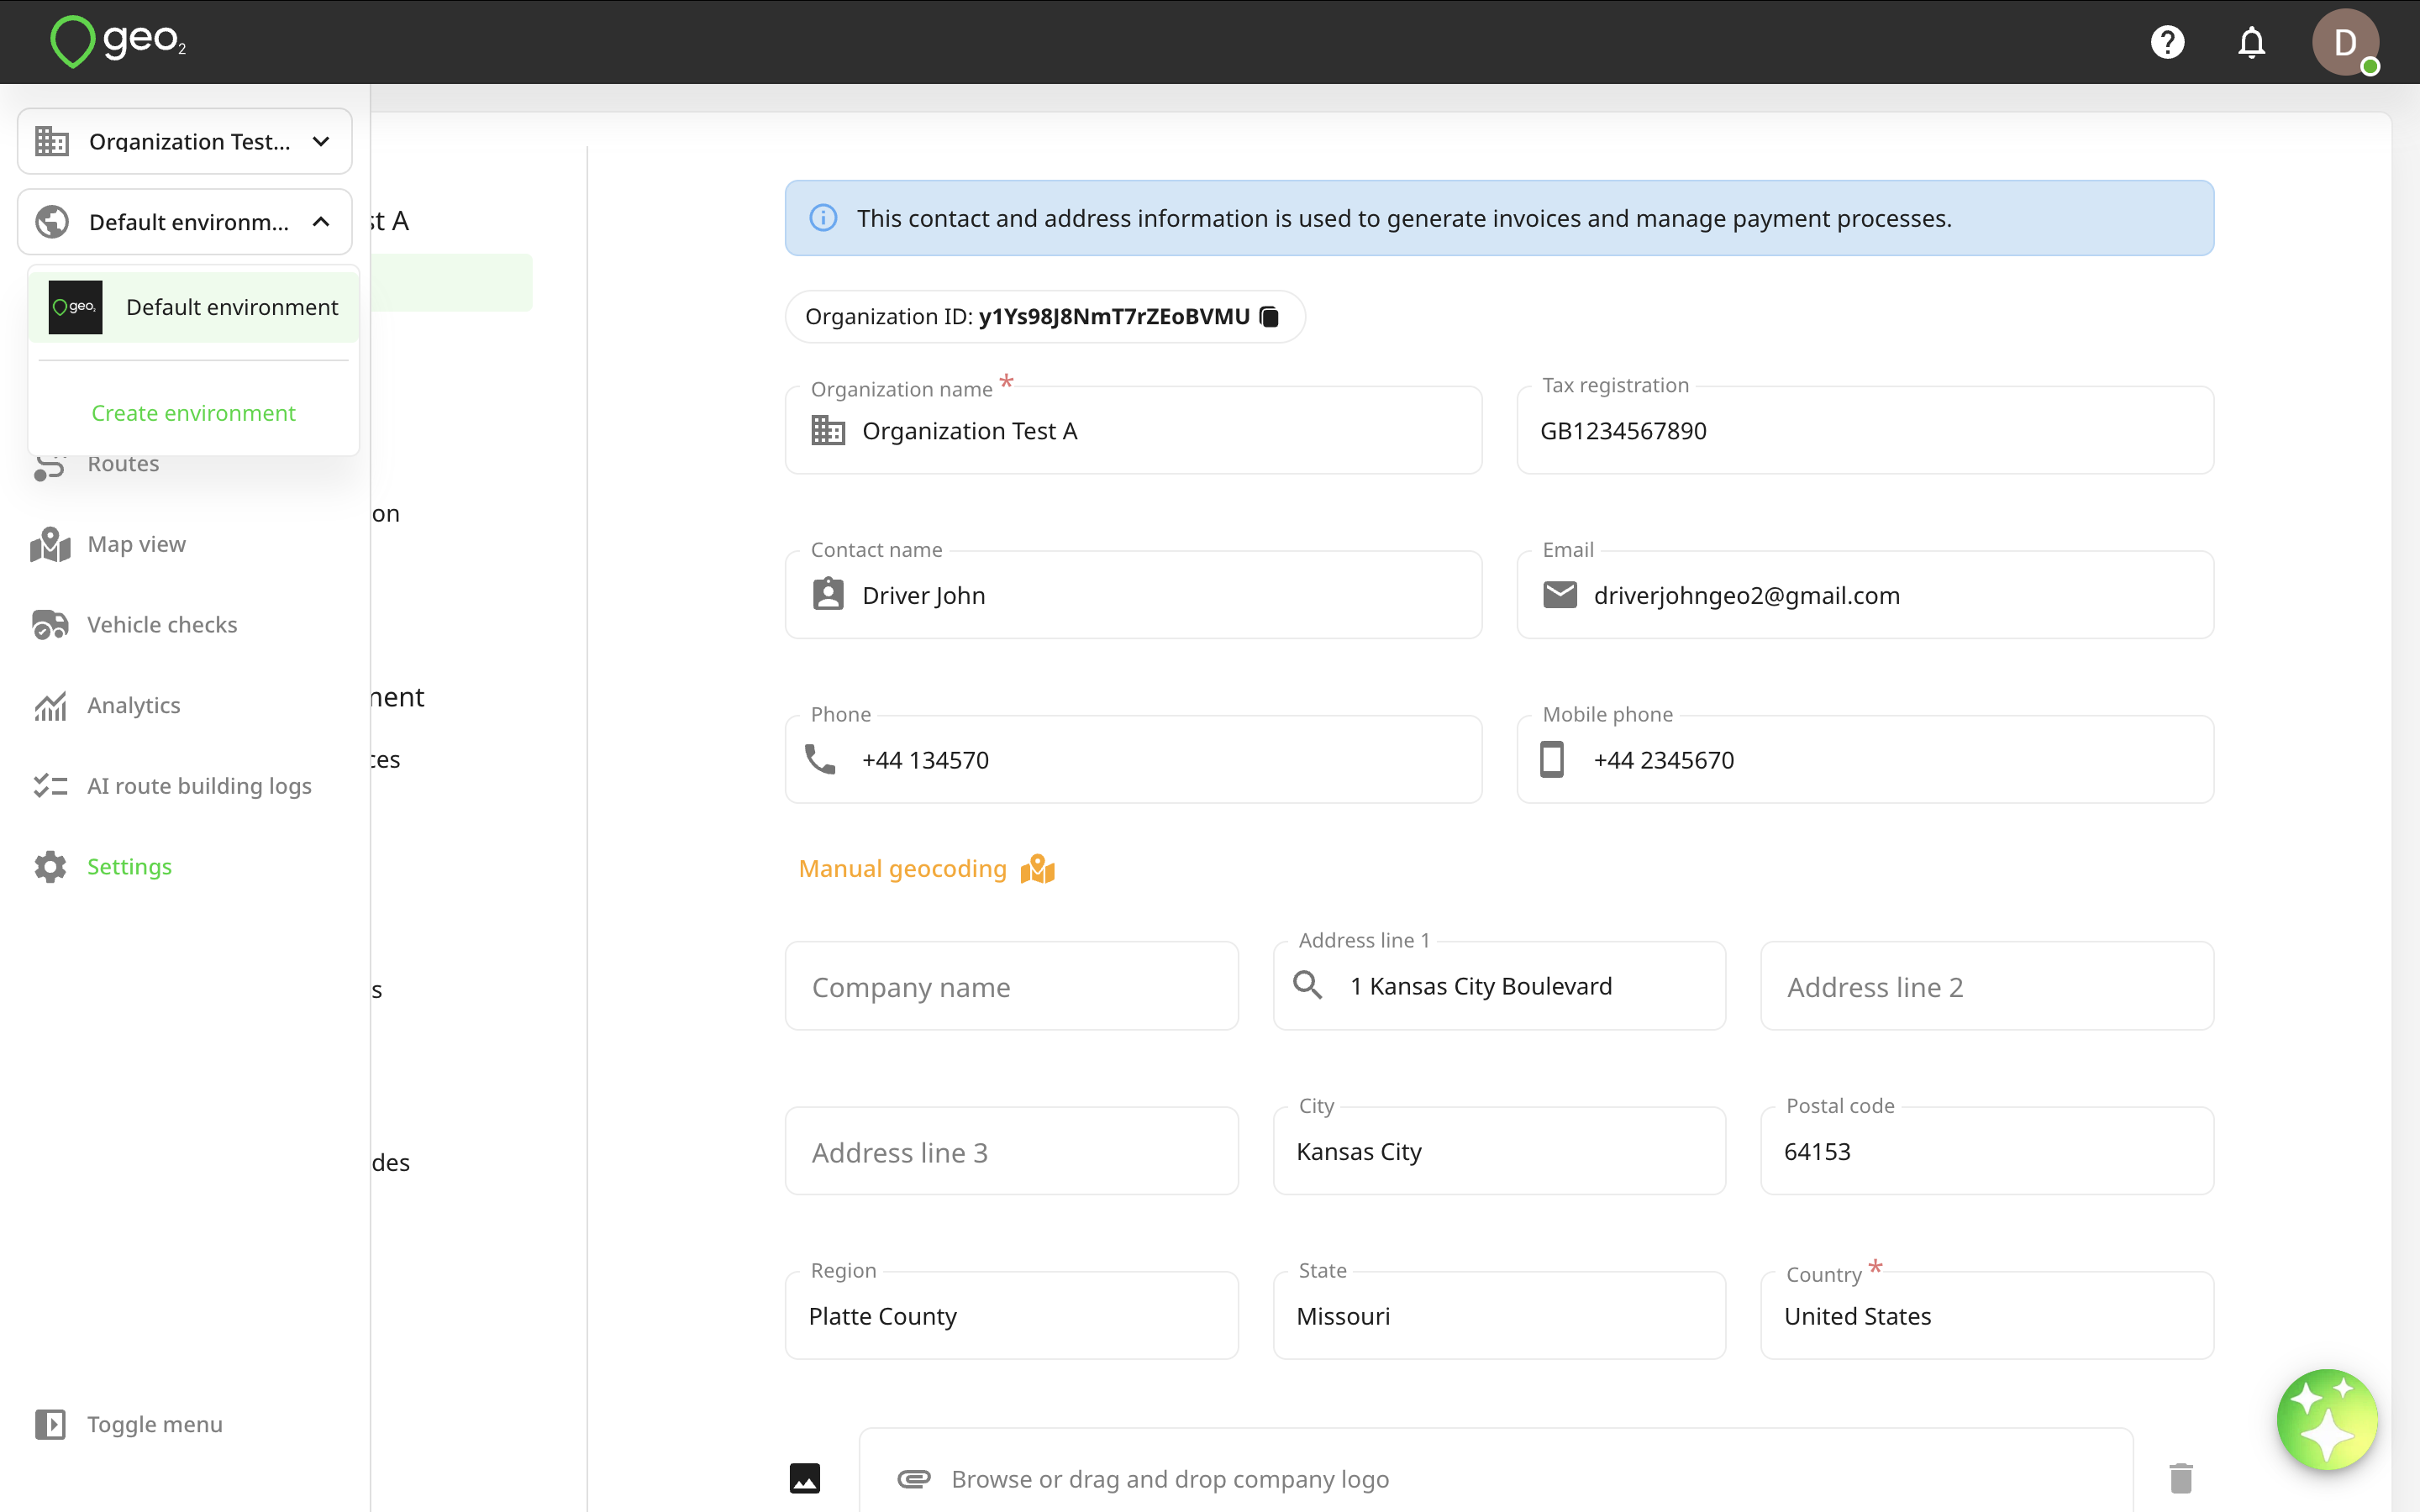
During the registration of a new account and Hub: Set Up Organization, the address entered will be saved as the environment’s address as well. If you want to create one more environment in your organization, press the environment selector in the menu bar and press Create environment. This option is available only with Enterprise subscription level.
You will be redirected to Create environment page where you will have the option to clone settings and users from an existing environment. Only users with the Organization Admin role can create a new environment within the organization.
It is up to you whether you decide to clone settings or users or start an entirely fresh environment definition. If cloning settings and/or users from an existing environment, you will need to select an environment to clone them from.
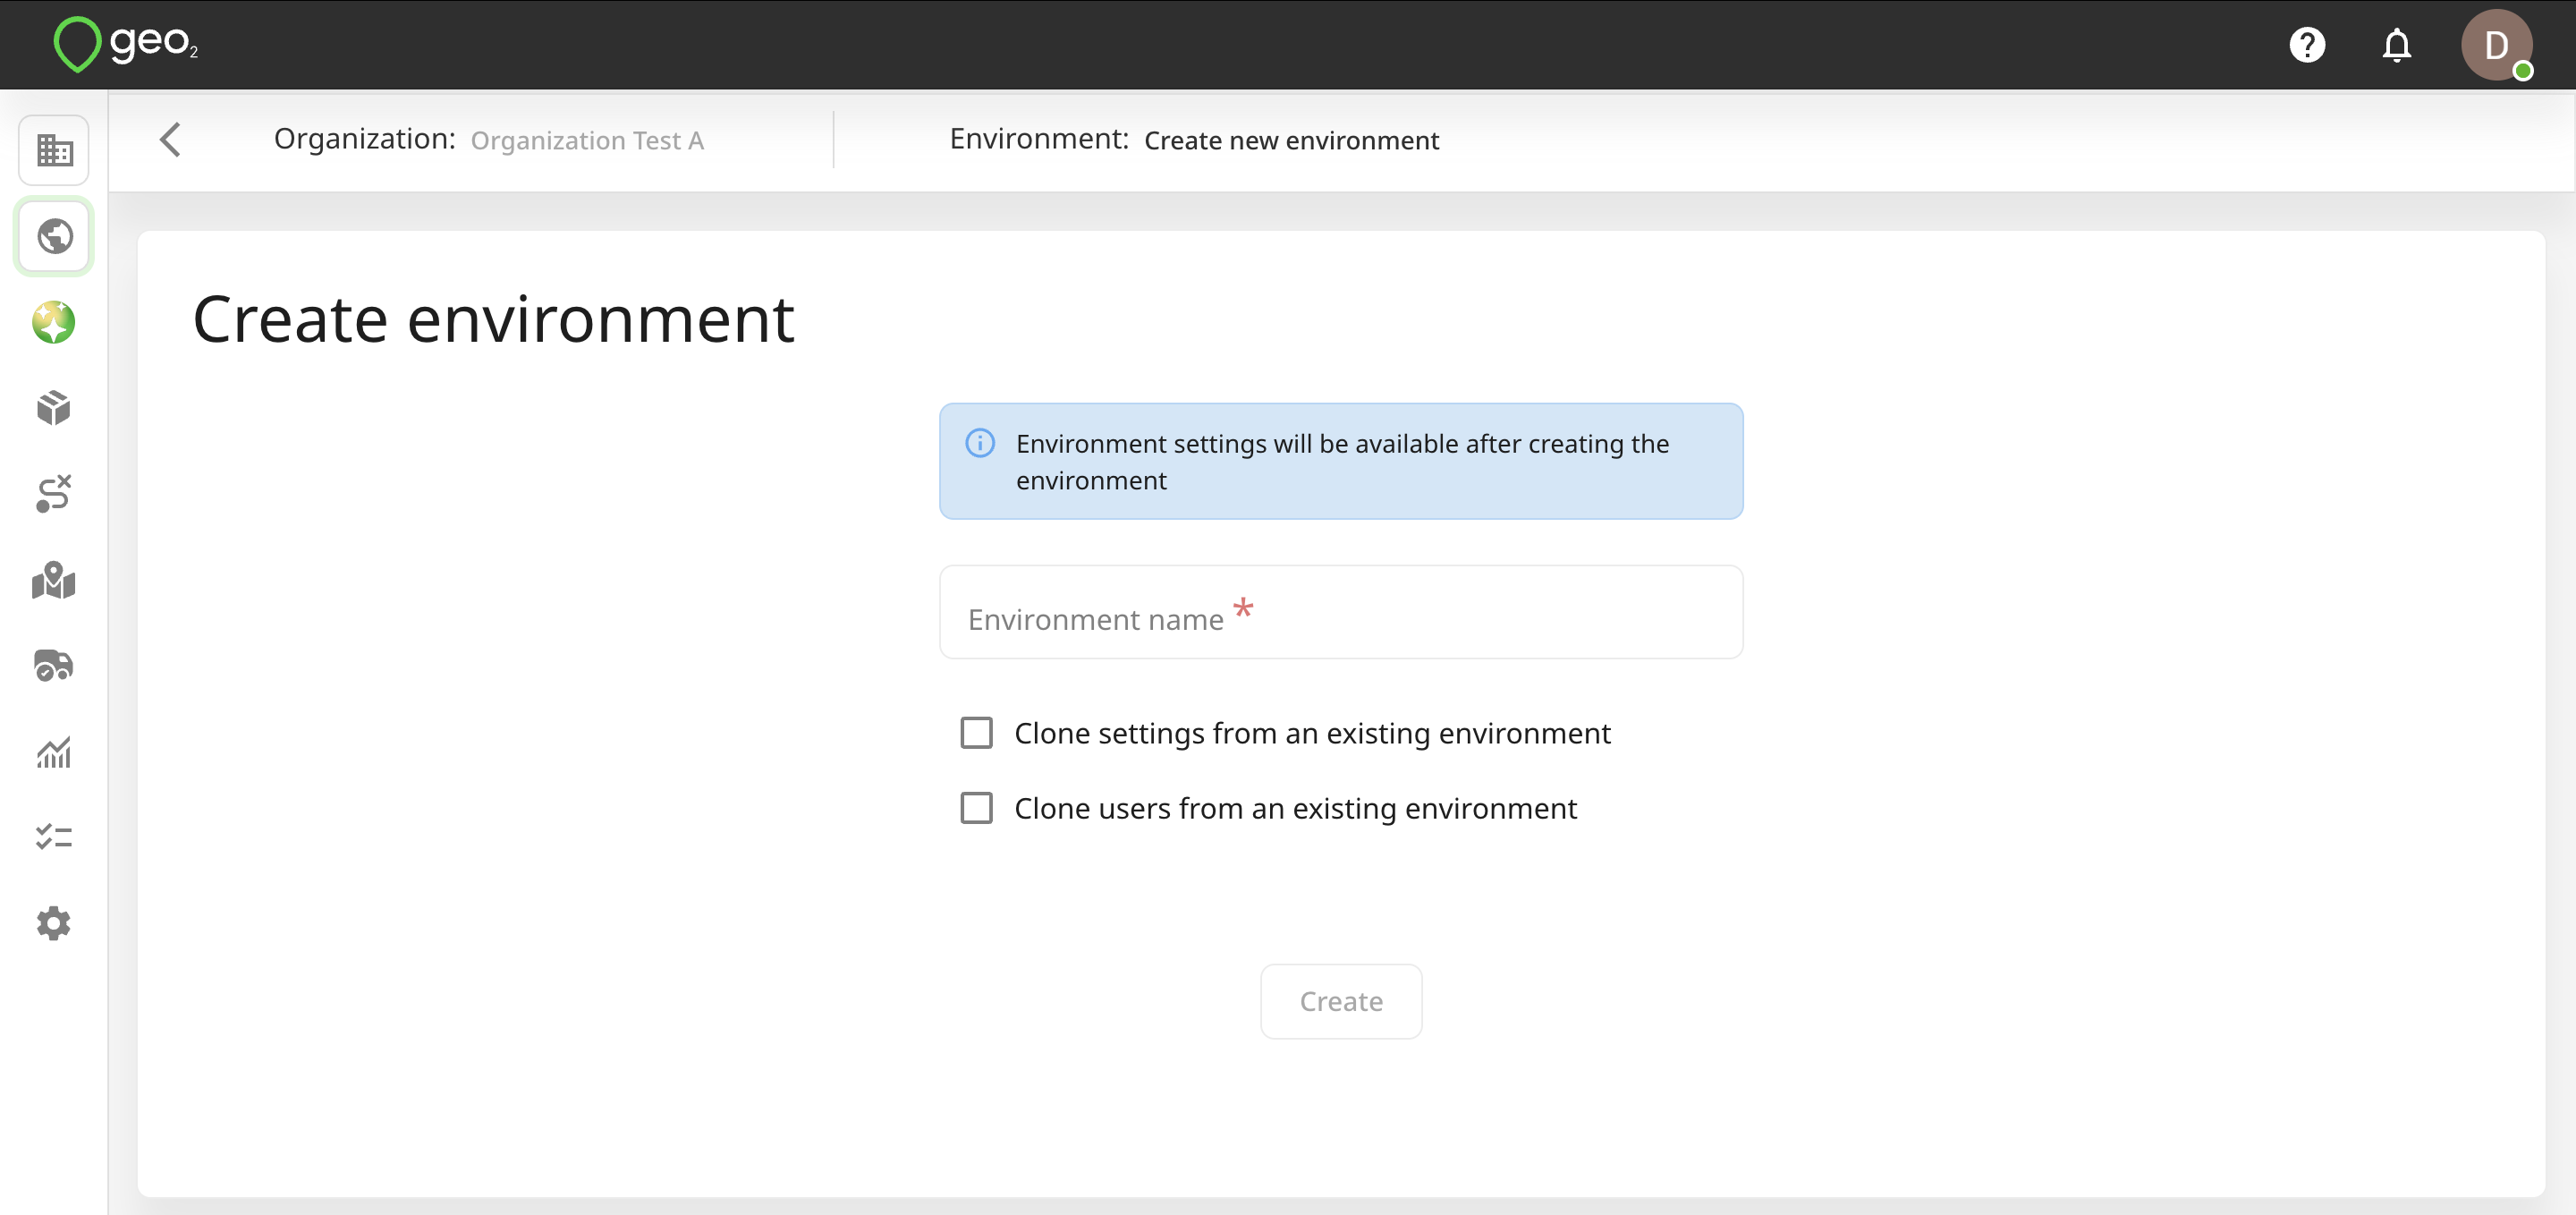
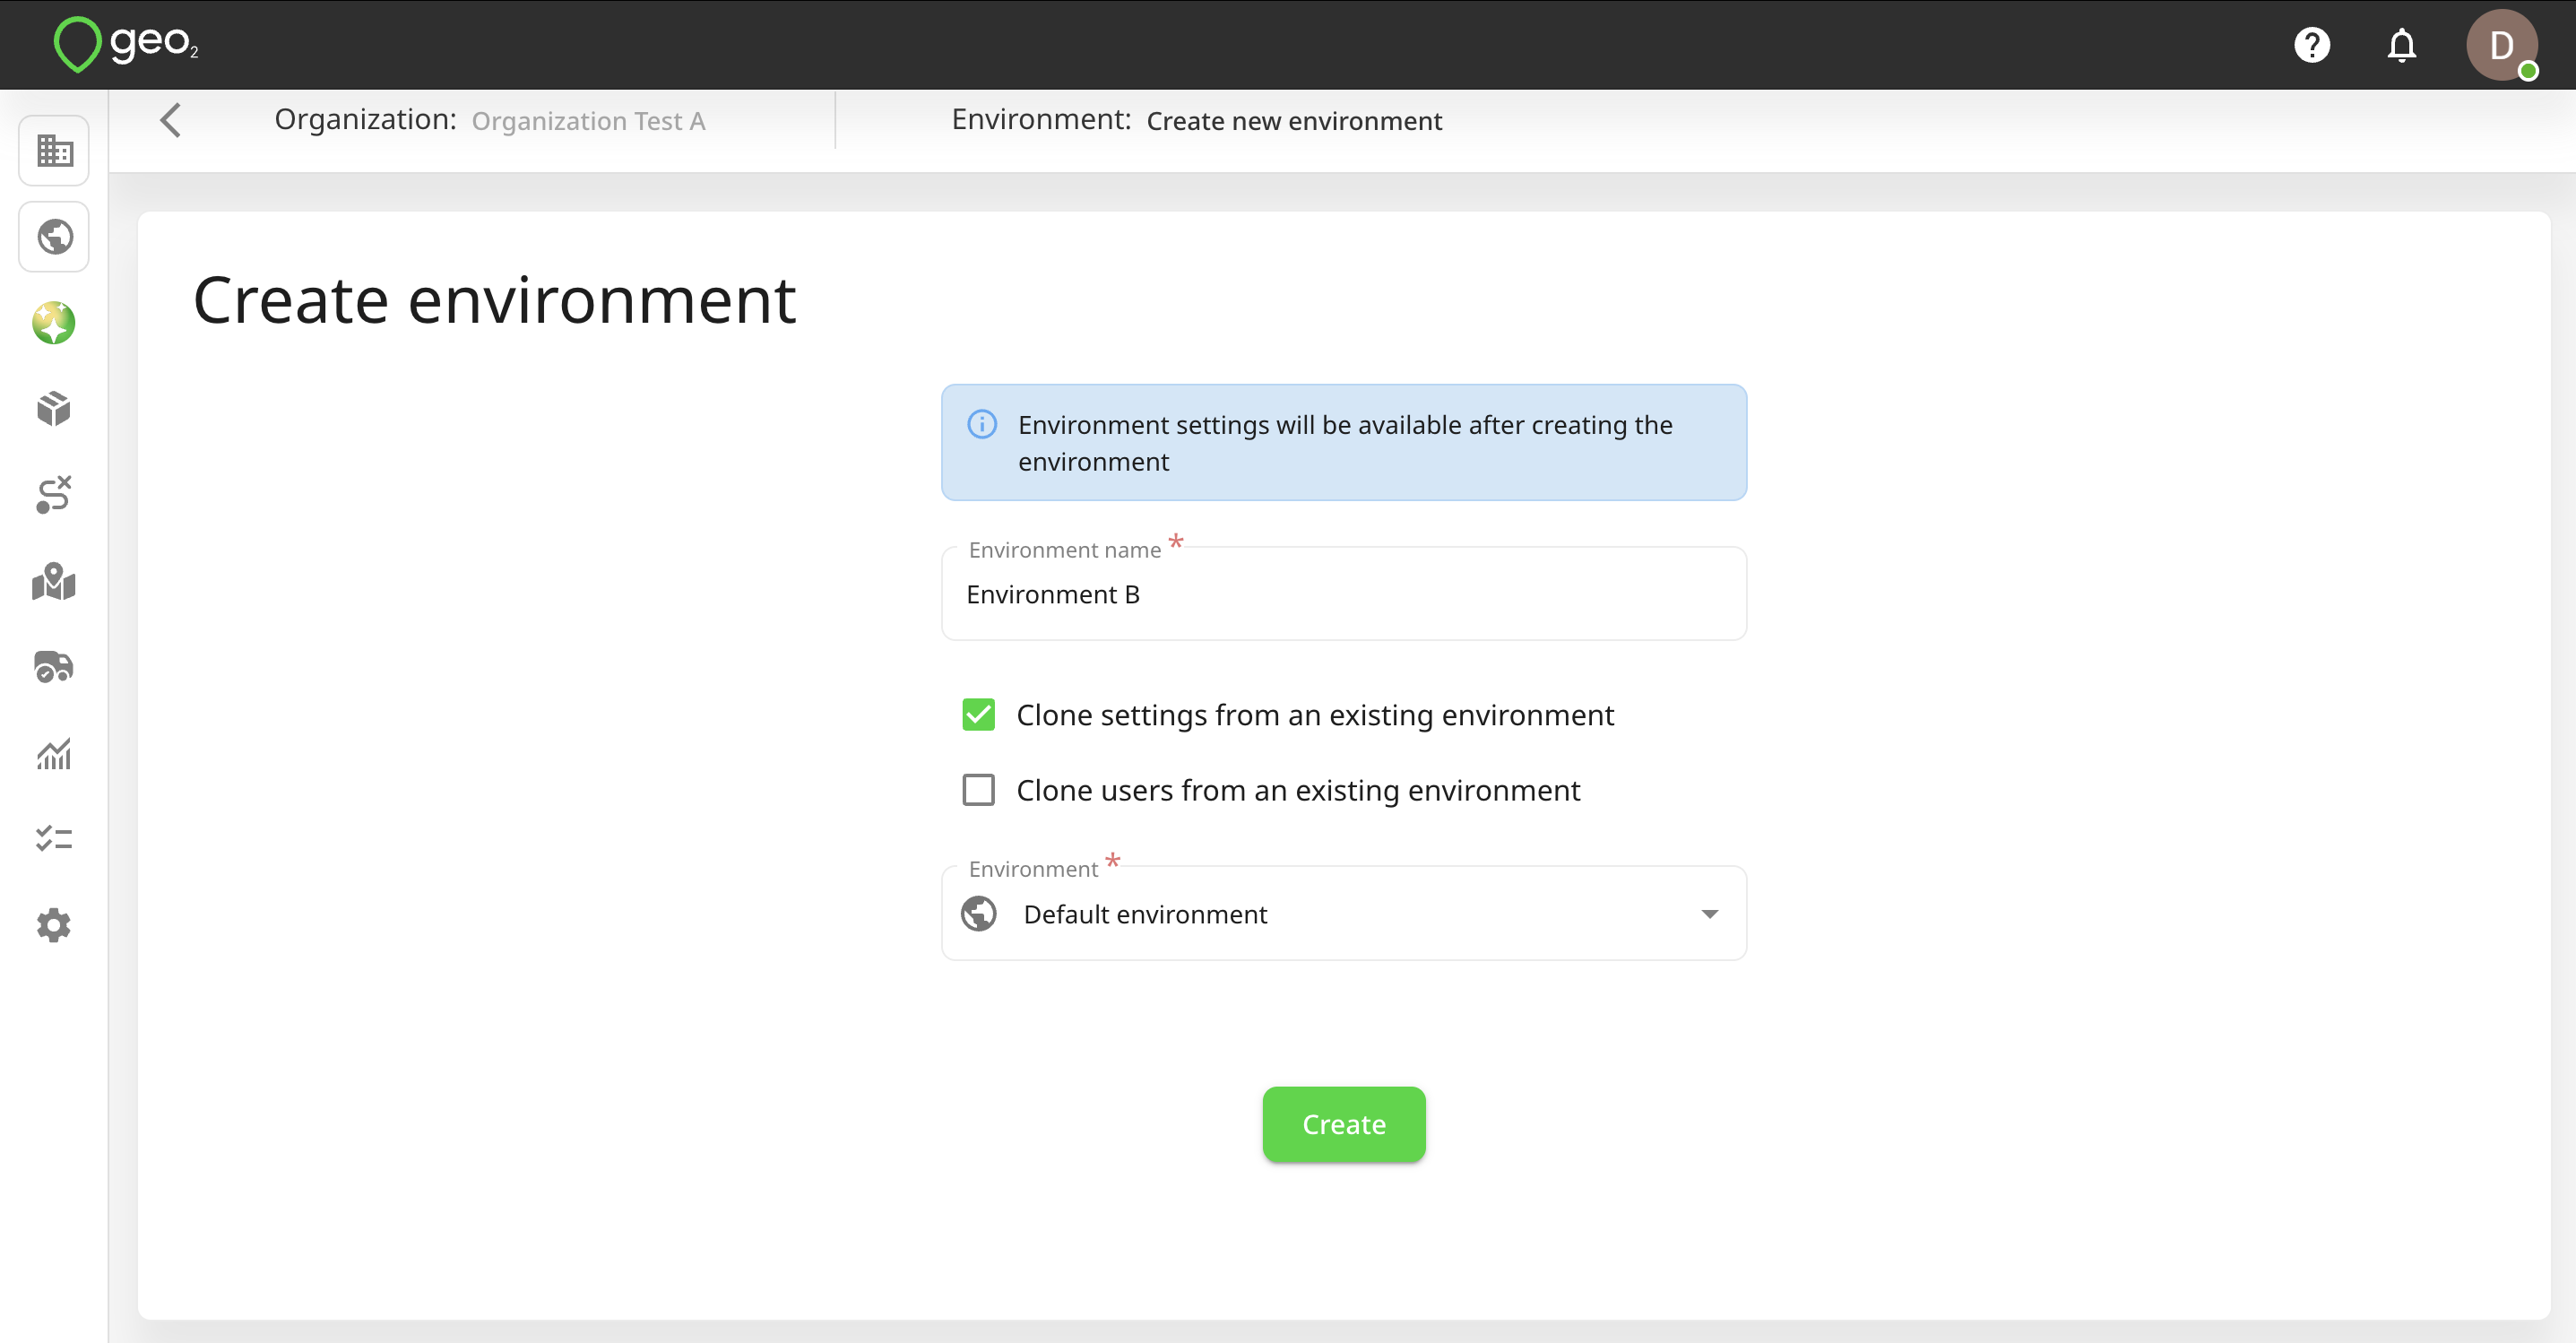
By pressing the Create button, a new environment will be created. You will be redirected to the settings of the newly created environment.
AI Assistant
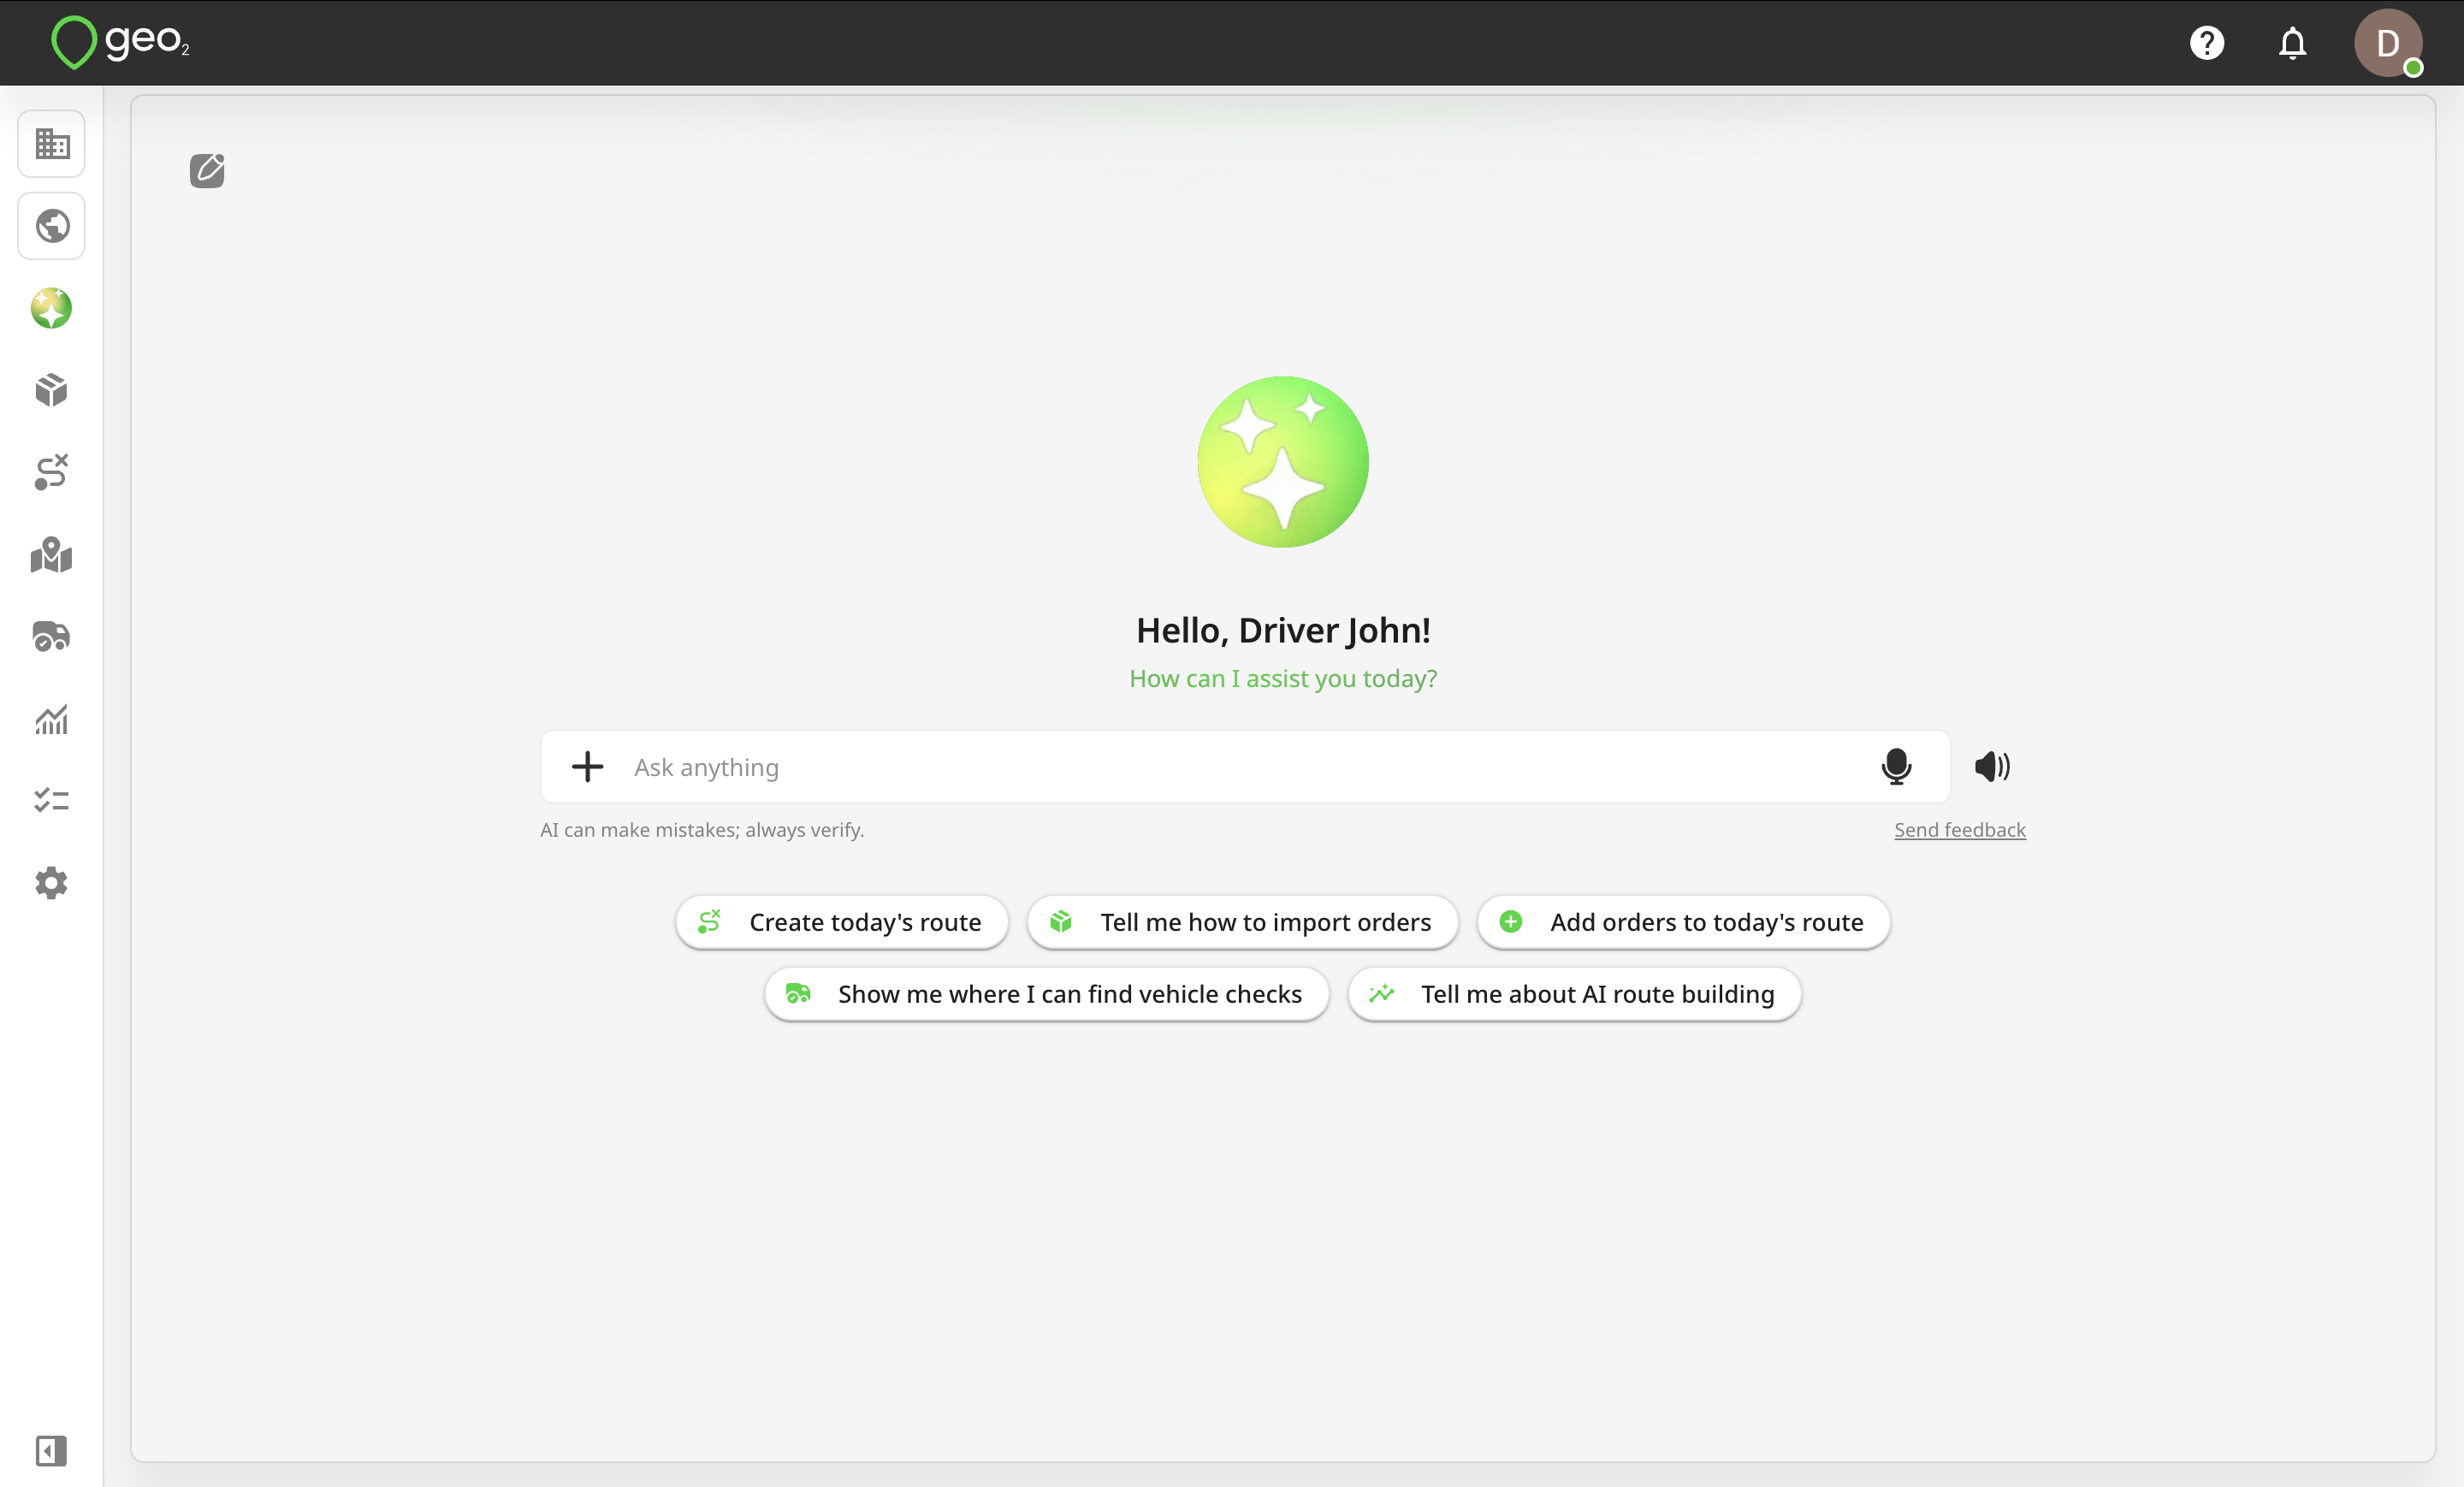
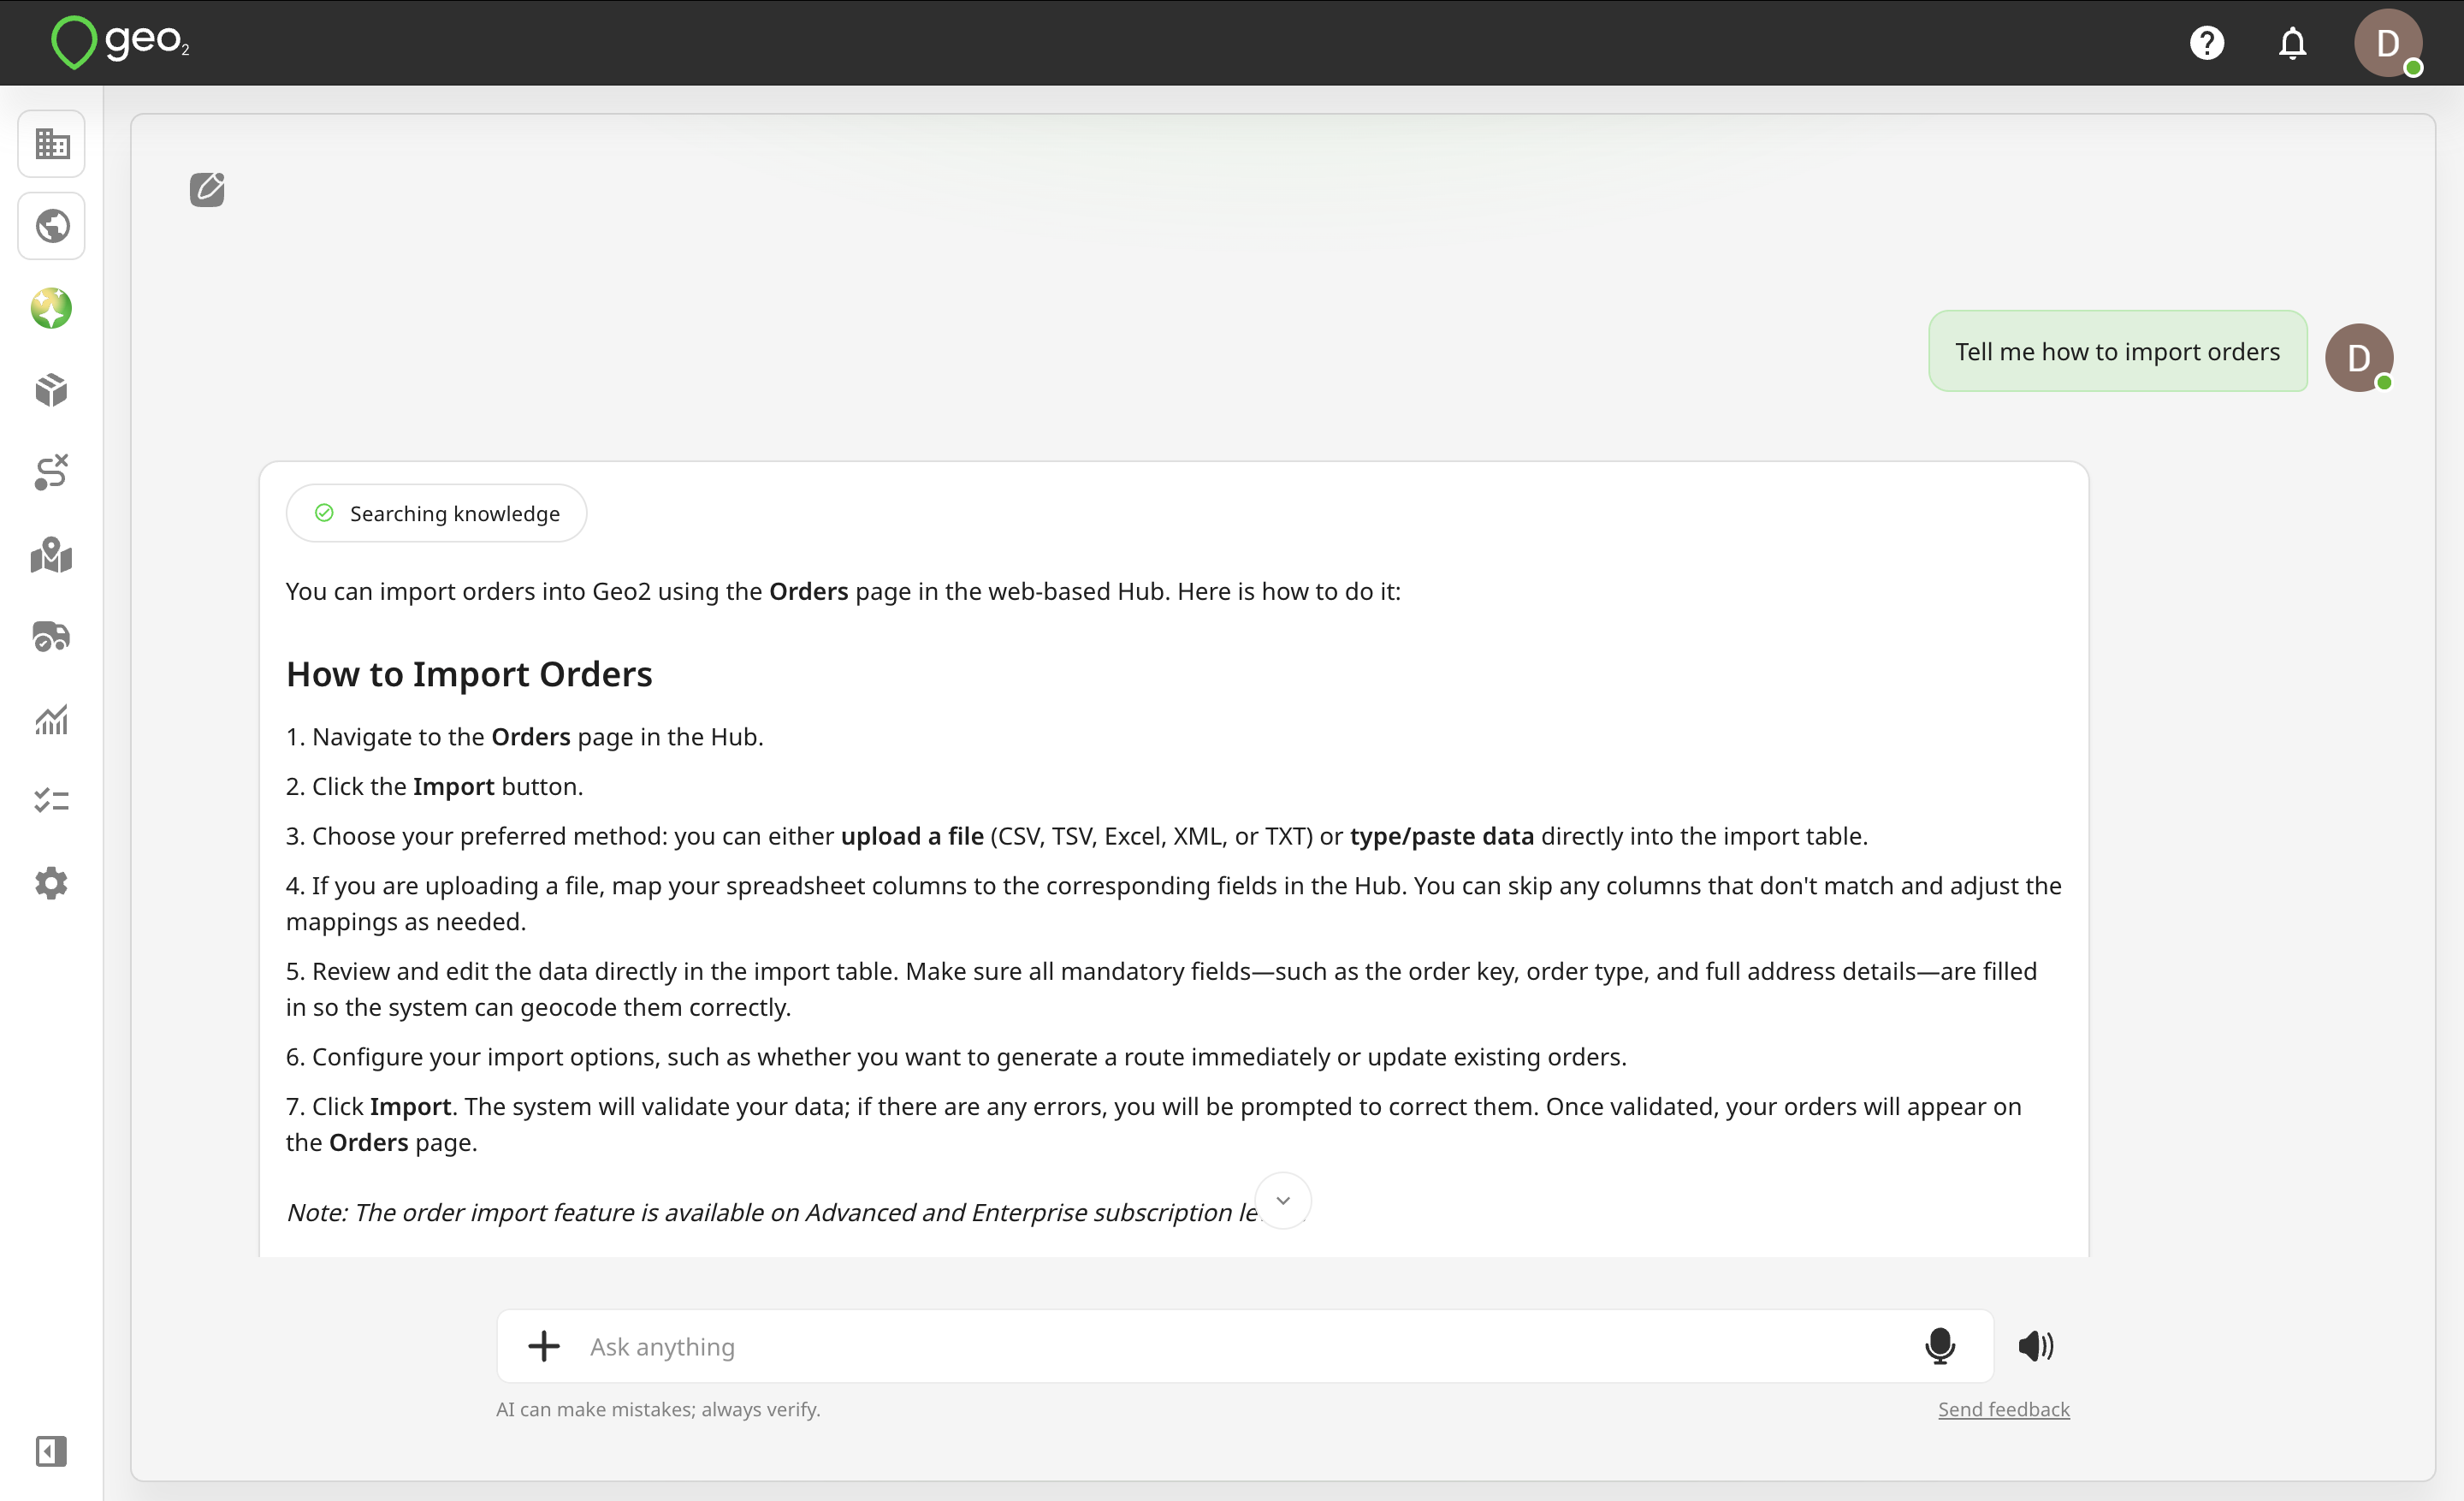
By pressing the AI assistant button in the menu, you will open AI assistant page. There, you will find examples of requests it can handle. With the AI assistant, you can:
- Create new routes and update existing ones
- Add stops to your current route using text or voice input
- Import stops from photos, screenshots and PDFs
- Move stops between routes
- Optimize routes with or without required stop time windows
- Add, edit, and delete breaks
- Start and complete routes
- Navigate seamlessly within Hub
- Get the list of routes planned for today
- Get step-by-step guidance on using different features
Use cases:
-
You can ask the assistant to create a route from multiple addresses you received by message or email, instead of entering each stop manually - by typing, voice, or import by photos/screenshots/PDFs.
-
If. new urgent stop comes up during the day, you can ask the assistant to add it to your current route and re-optimize the order.
-
When some stops must be visited within specific time windows, the assistant can help you build a route that respects those requirements.
-
If you’re unsure how to use a feature, you can ask the assistant for step-by-step instructions directly in the app.