Mileage Tracking
The Mileage tracking feature in the Geo2 mobile app allows you to record, monitor, and export your actual mileage for business, commuting, or personal journeys. You can track mileage while completing planned routes or start a standalone mileage tracking session without creating a route or adding stops.
Mileage is calculated using your device's location tracking, helping you maintain accurate records of the distance travelled.
Accessing Mileage Tracking
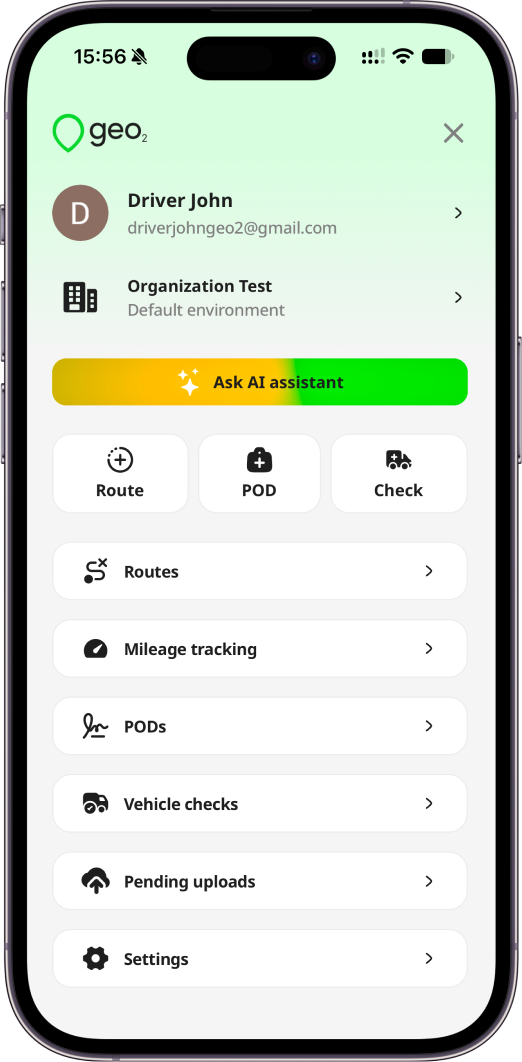
To access this feature, open the Geo2 mobile app menu and select Mileage tracking.
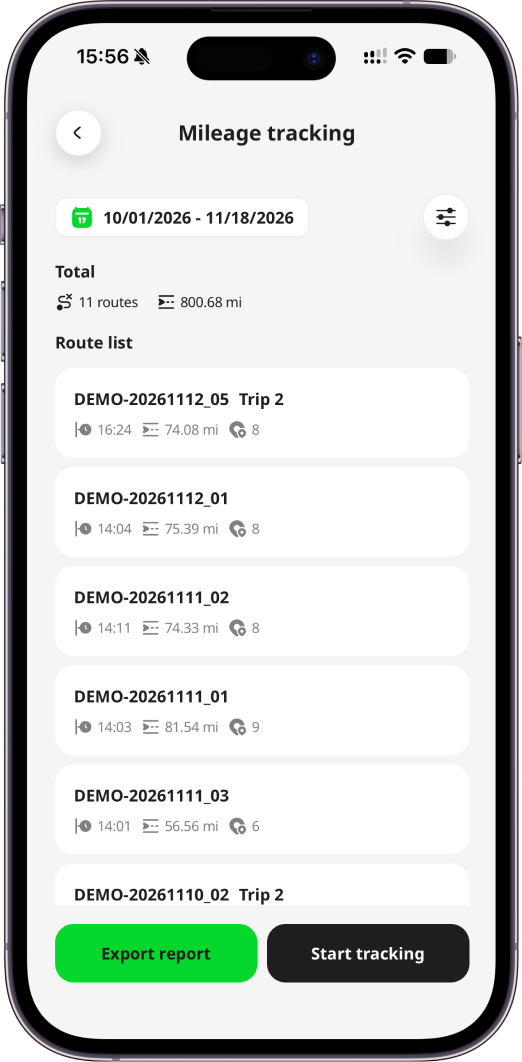
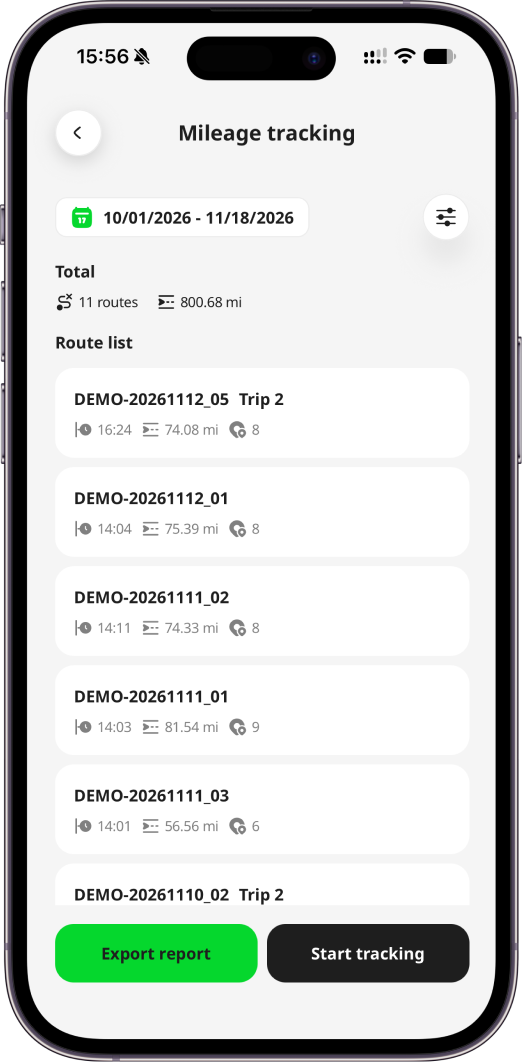
The page provides an overview of your recorded mileage, including:
- Total mileage — the actual distance recorded during the selected period.
- Number of routes — the total number of completed routes with recorded mileage.
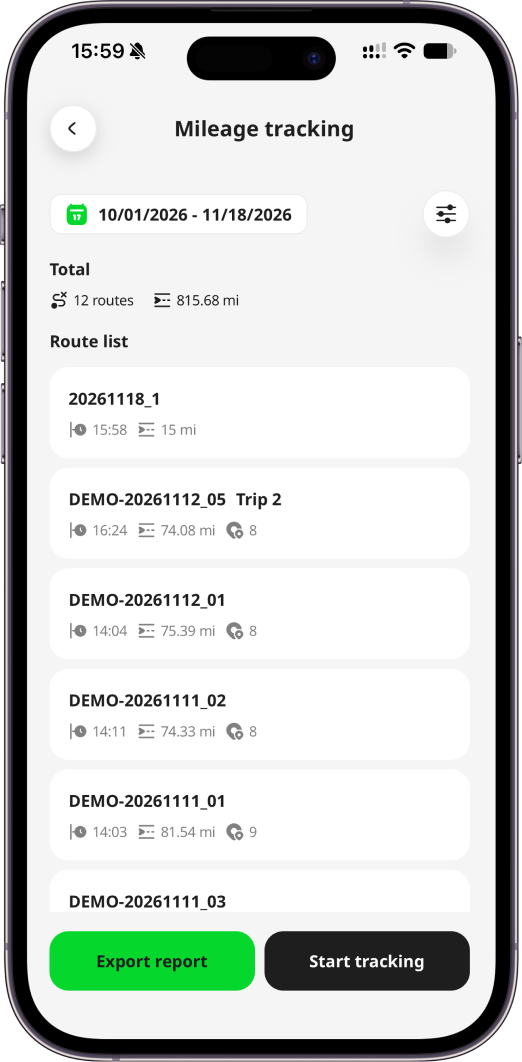
- Route details — individual mileage records showing the route key, actual start time, distance travelled, and number of stops.
Only completed routes with recorded mileage are included in the totals and reports.
Tracking Mileage for Planned Routes
When you start a planned route in Geo2, mileage tracking begins automatically using your device's location.
Mileage tracking follows the route execution process:
- Start route — location tracking starts and Geo2 begins recording your actual distance.
- Pause route — mileage recording is temporarily paused.
- Resume route — mileage recording continues.
- Complete route — location tracking stops, and the recorded mileage is saved.
The recorded distance reflects your actual journey rather than the estimated or planned route distance. Distance travelled while tracking is paused is not included.
Once the route is completed, its mileage information becomes available on the Mileage tracking page.
Tracking Mileage without a Planned Route
You can also record mileage for journeys that do not require route planning, such as travelling to a client, commuting, or making a business-related trip.
To start tracking:
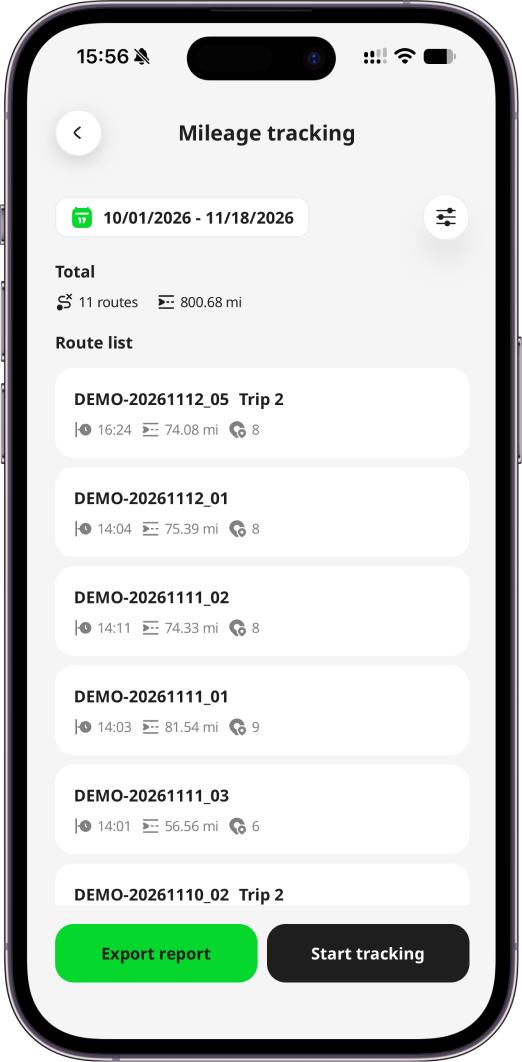
- Open Mileage tracking from the app menu.
- Tap
Start tracking. - Select the appropriate Purpose code. The default purpose code is selected automatically, but you can change it.
- Tap
Confirmto begin recording your mileage.
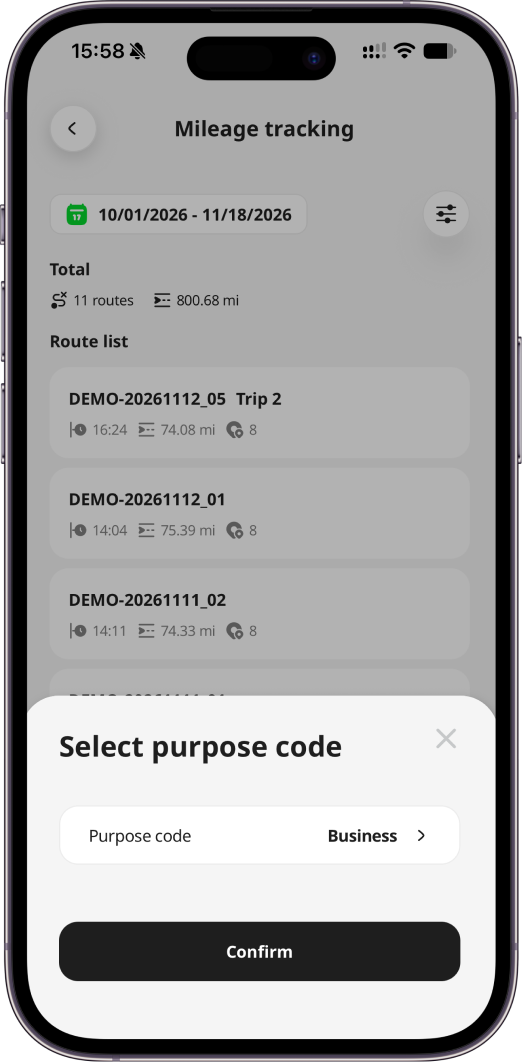
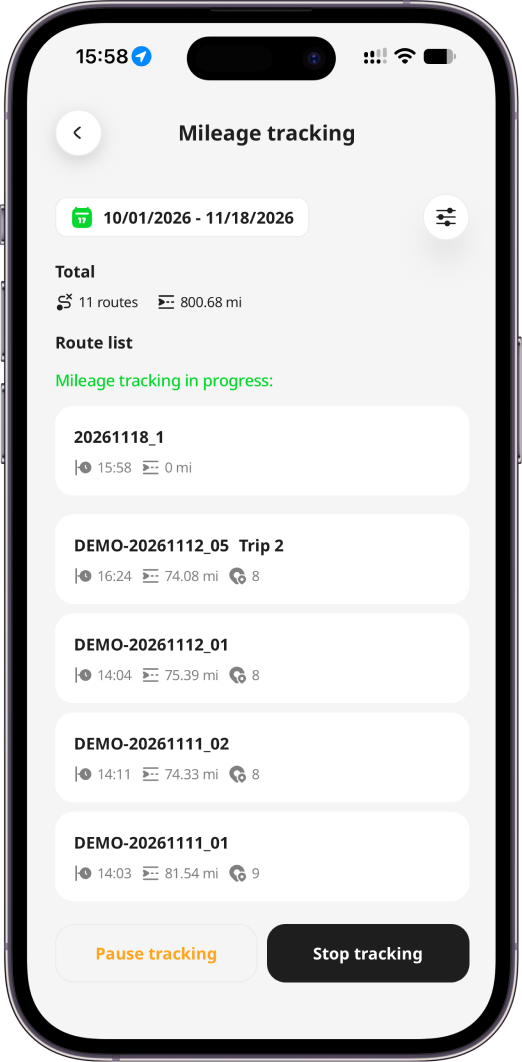
Geo2 automatically creates a mileage record in the background, so you do not need to create a route or add any stops manually.
While tracking is active, you can:
- Pause tracking to temporarily stop recording distance.
- Resume tracking to continue recording.
- Stop tracking to finish your journey and save the recorded mileage.
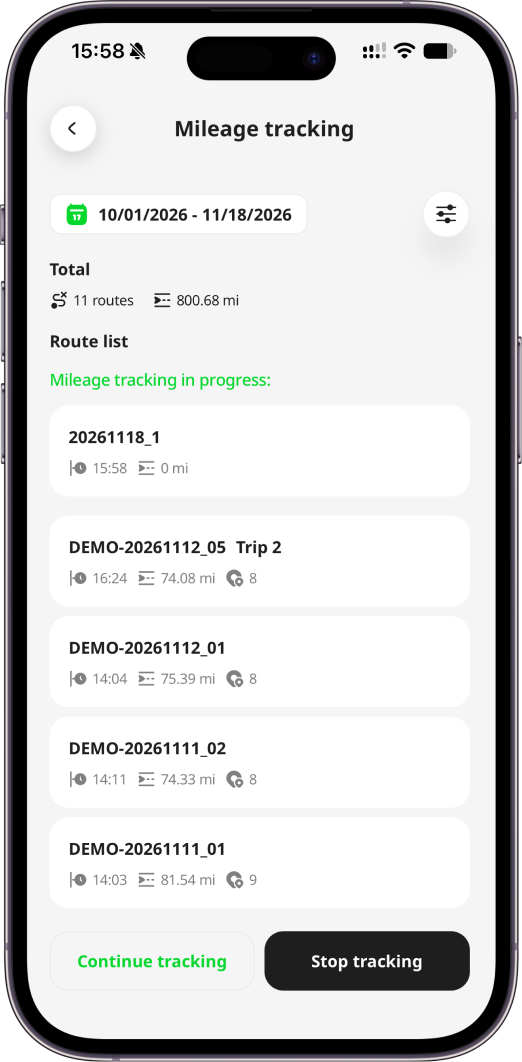
Mileage tracking can continue while the app runs in the background, provided the necessary location permissions are enabled.
After you stop tracking, the completed journey appears in your mileage records alongside your planned routes.
Background Location Tracking Permissions
To ensure accurate mileage recording, Geo2 requires background location tracking permission. This allows the app to continue recording your actual distance even when it is running in the background or your device screen is locked.
Geo2 will request the necessary location permissions when you:
- Start a planned route on Route view page in the mobile app.
- Tap Start tracking on the Mileage tracking page to begin recording a journey without a planned route.
If the required permissions have not been granted, Geo2 will prompt you to enable them before mileage tracking begins. Background location tracking permission is essential for accurate mileage recording. Without it, Geo2 may not be able to continuously track your journey, resulting in incomplete or inaccurate mileage data.
We recommend keeping background location access enabled while tracking your journeys to ensure that the actual distance travelled is recorded correctly.
Filtering Mileage Records
You can review mileage for a specific period or narrow down your records using the available filters.
- Date range — select a custom start and end date to view journeys based on their actual start dates.
- Vehicles — view mileage associated with one or more vehicles.
- Purpose codes — filter journeys by their assigned purpose, such as Business, Commuting, Personal, or custom purpose codes configured for your organization.
To apply filters, tap the filter icon, select the required values, and tap Apply.
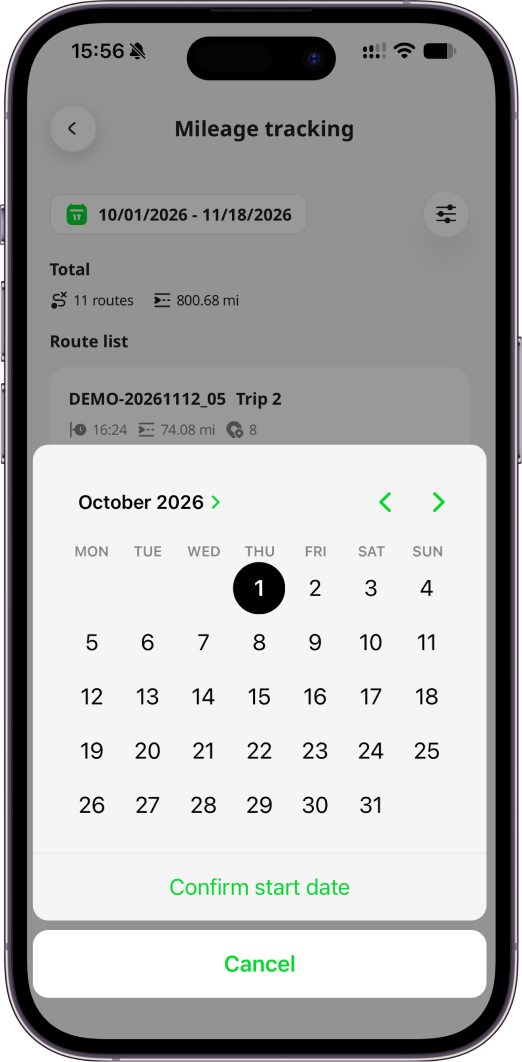
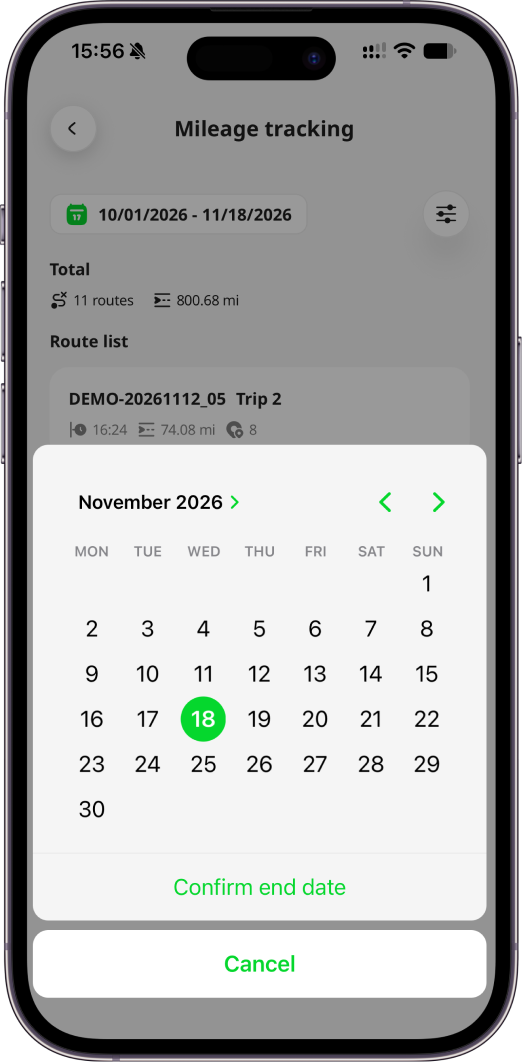
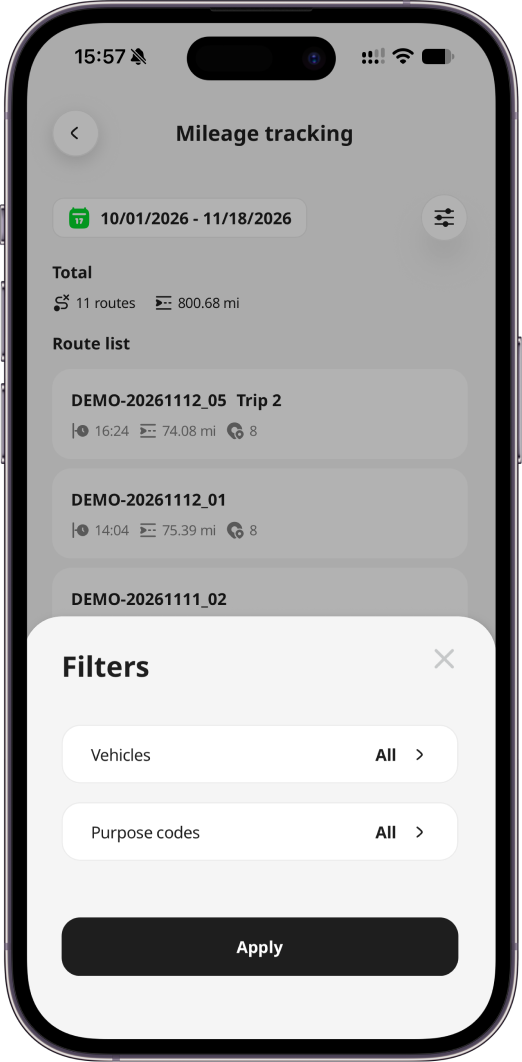
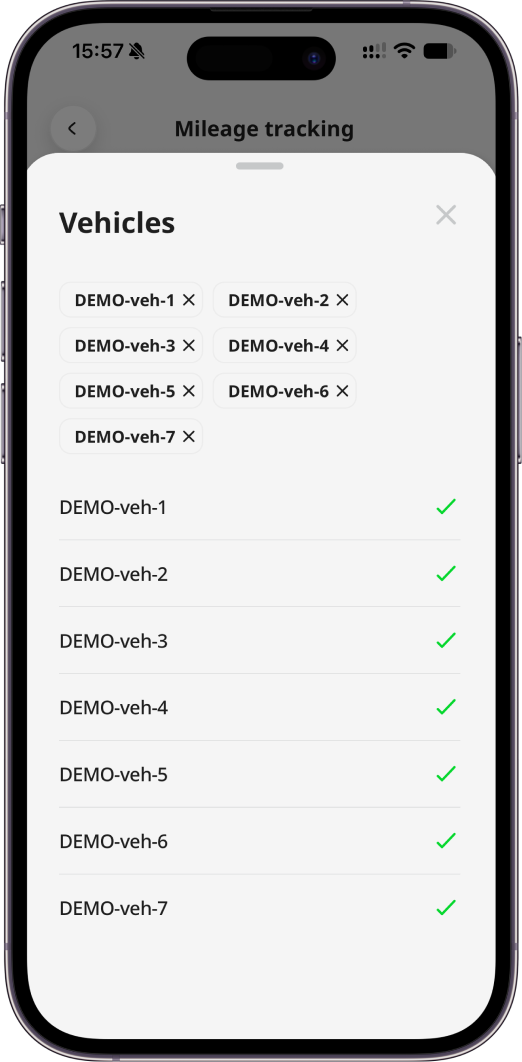
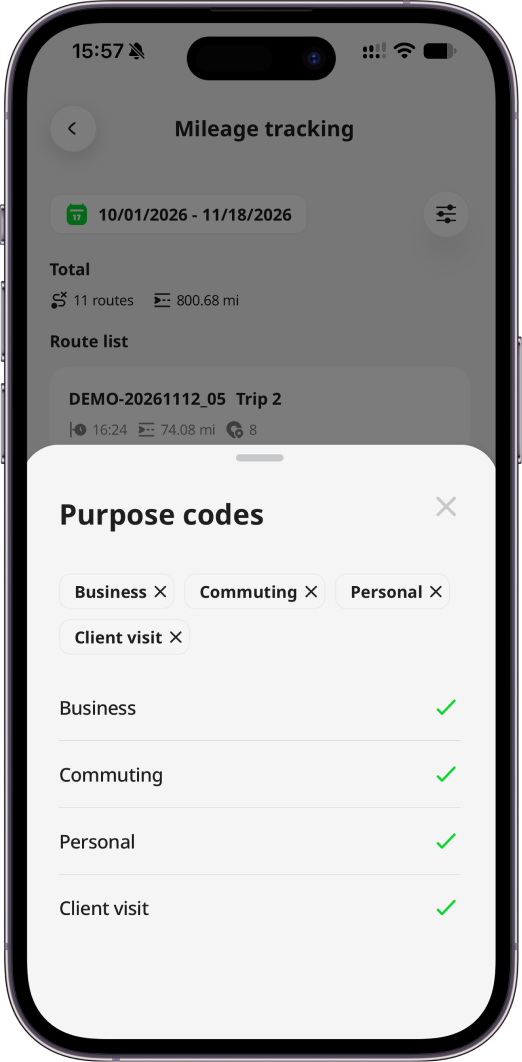
Your total mileage, number of routes, route list, and exported report will automatically reflect the selected filters.
Route Purpose Codes
Purpose codes help categorize your journeys based on why they were made. Each planned route or standalone mileage tracking session has an assigned purpose code, allowing you to organize your mileage records and filter reports accordingly.
You can select a purpose code when creating or editing a planned route, or when starting a standalone mileage tracking session.
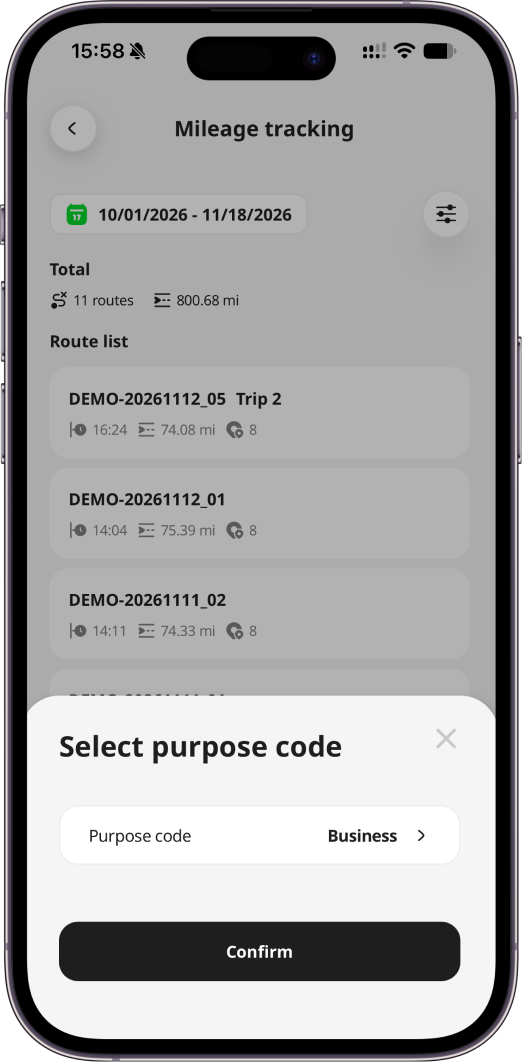
The available values are configured under Settings → Route purpose codes and shared between the Geo2 mobile app and Web Hub.
Exporting Mileage Reports
Geo2 mobile app allows you to export mileage records as a PDF report for record-keeping, expense reporting, and reviewing business-related travel.
To export a report:
- Open the Mileage tracking page.
- Select the required date range.
- Apply any vehicle or purpose code filters if necessary.
- Tap
Export report.
The generated report includes completed mileage records matching your selected date range and filters, including journeys from both planned routes and standalone tracking sessions.
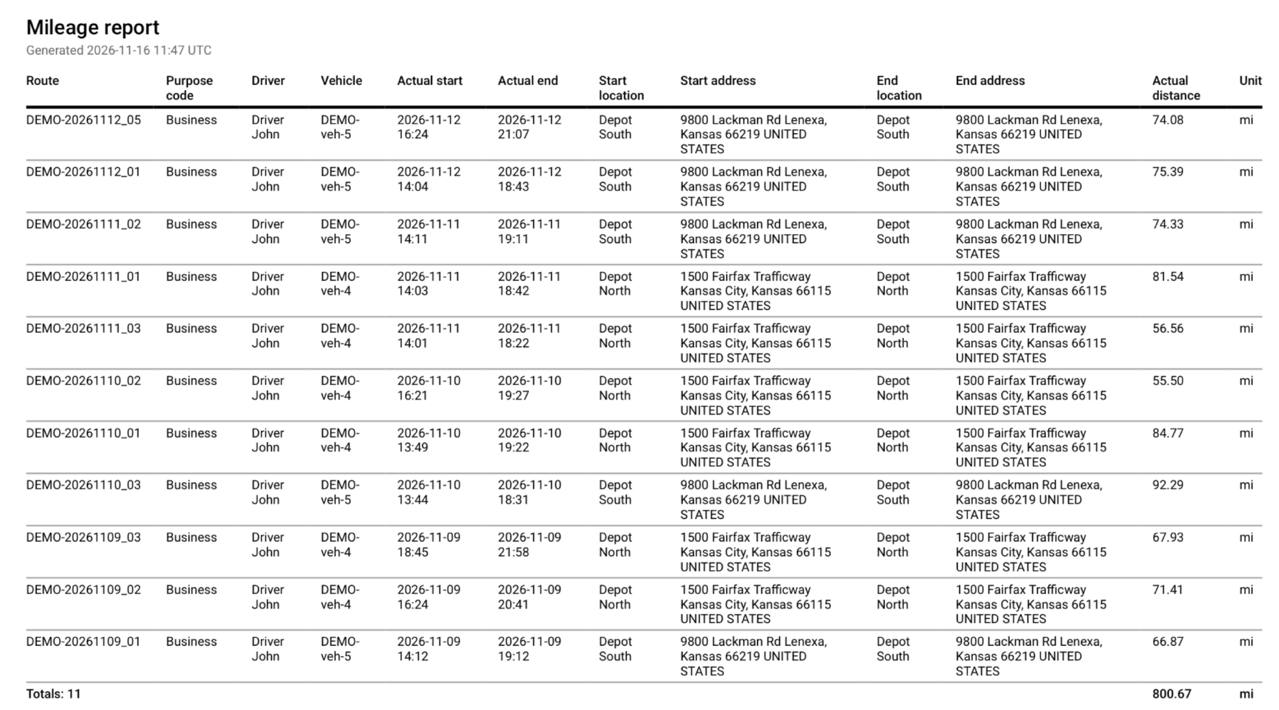
Mileage report export is available with Pro and Advanced subscriptions. If you are using the Free level, selecting Export report opens the Subscriptions page, where you can upgrade to unlock this feature.
If no mileage records are available for the selected period and filters, the page displays No routes yet, and report export is unavailable.